Showing posts with label #kidsart. Show all posts

Thursday, November 23, 2017

water based marker monoprints

These lovely monoprints were created during a warm up activity to an acrylic landscape painting project in the teen class.


A warm up exercise!

Created with the humblest of art supplies, Crayola markers and a piece of acetate.


Each teen had picked a reference photo they were considering using for the acrylic painting. They put this photograph under the acetate and then drew the elements they were thinking of including in their painting onto the acetate with the markers.


We had talked a lot about how artist are always making decisions about what to put in and take out of their paintings. What to simplify, what the focus should be and how to move things around to create an interesting composition.


This quick exercise gave each of them a chance to begin making some of those decisions without getting bogged down in getting things "just right" in a sketch.


As they were drawing with the markers onto the plastic, and any old plastic will do for this project, there was some concern that it wasn't working as the ink just kind of balled up on the surface. It was hard to convince the artist that it was OK the marker wasn't covering the surface as expected but since it was a warm up exercise there wasn't too much stressing and they continued forward.


I then gave them a piece of damp paper and they turned their ink drawing face down onto the paper and rubbed.

When they pulled the acetate up, they were all pleasantly surprised with the results.

I was too.


I thought they were so stunning that I matted all of them for the teens to take home.

Wednesday, July 19, 2017

acrylic paintings inspired by Monet

On the second day of the Art and Nature summer camp, my plan was to have the campers go through their sketchbooks and pick one of their sketches from our hike through Lynn Canyon and use it to create an acrylic painting.

I decided to show them the work of Monet to inspire the painting style for their work of art for a couple of reasons.

One, there is an exhibition of his work currently on display at Vancouver Art Gallery and I thought it might be a nice entry point to encourage them to go and have a look at it.

And two, Monet loved to paint outdoors.

The match of Monet's style of painting and the artist work seemed like a perfect match. It was also a perfect day to be outside and so I asked the children if they would enjoy painting in my backyard instead of in the studio.....

since Monet liked to paint in his backyard.

A resounding YES meant we taped the acrylic paper down on the cardboard I save from old paper tablets, grabbed the paintbrushes and water jugs and the box of paint and headed outside.

Now let's be clear. My backyard doesn't hold a candle to Monet's yard.

Although I have a goldfish pond, mine is in a container and definitely does not have a bridge.

I do have a small water fountain though.

And while a couple of artist decided to create paintings of the woods,

10 year old

6 year old

Most of them were quite inspired by my small water feature in the backyard.


They patiently waited to catch a glimpse of the three goldfish I have put in the pond and these fish made an appearance in several of the paintings.


11 year old

If you look closely, you'll see the white fish with the orange marking on it's head peaking out from this young boys' painted lily pad. Pretty much exactly what the fish does when you are looking for it in the pond.

10 year old

You'll also see the two orange fish along with a great rendition of the bamboo fountain in this boys' painting too!

6 year old

And then this endearing painting, where it seems my fish when night falls enjoys some flying acrobatics! This young artist had me at flying fish with this painting.

And then the waterlily paintings. I need to stress again that "my plan" was to have the kids paint forest scenes from their sketchbooks in my backyard. I had shown them Monet's work to inspire painting style along with hopefully exciting them to go take a look at his artwork in person.

NOT to paint waterlily scenes and yet something magical happened with the combination of my humble pond and looking at Monet's artwork.

11 year old

Because suddenly these beautiful water lily paintings were being created in my backyard as the kids congregated on a blanket around the pond.

5 year old

6 year old

8 year old

I think they all caught the essence of impressionist painting, my goal when I first introduced Monet. But what happened in my backyard that day came as a complete surprise to me as children began to bring me their finished works of art as we packed up to head back into the studio.


8 year old

I did have one young boy who had grander ideas about the best way to spend a beautiful Vancouver summer day other than in my backyard. I have to agree a day at spent on the shores of the Pacific Ocean would be marvelous.

But until then, I am quite content with the day I spent with these talented young artist sitting in my backyard painting.


Friday, June 2, 2017

preschool acrylic paintings

I had so much fun in May running two preschool classes.

Working with this age group is so rewarding as everything is exciting and their enthusiasm is contagious.

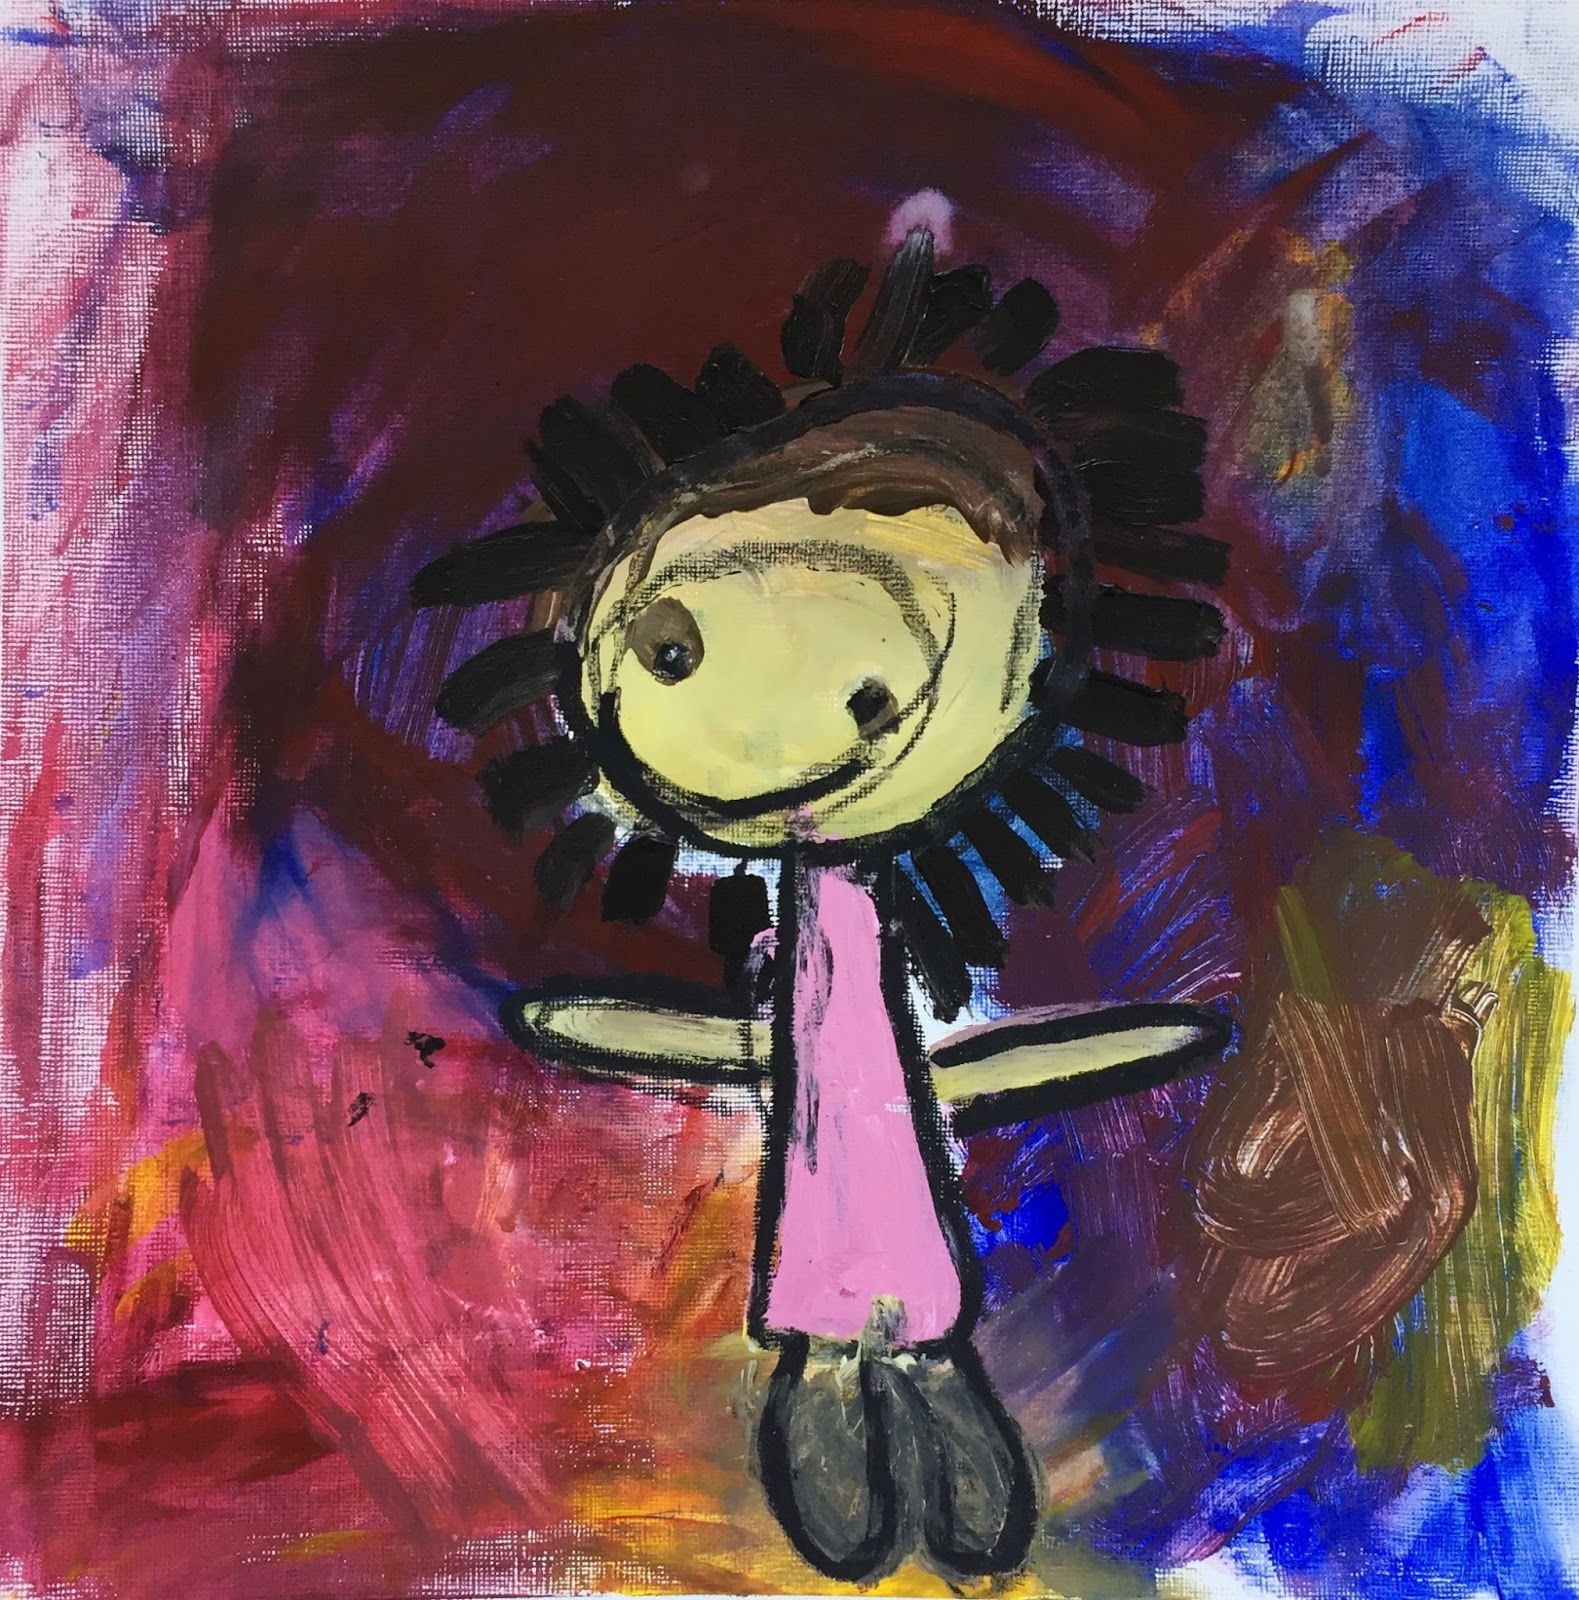
With the Wednesday group, I had each child bring in a favorite toy. This was inspired by one little boy in the class who brought a wooden pull toy each week that was his "dog". I truly thought he would paint that dog, but surprised me by bringing a corduroy stuffed elephant instead named Ellie.

This little boy had a wonderful time mixing colors in his background but what really excited him was adding the corduroy lines. He first ran the back of his brush through the thick wet paint and then once dry used the black oil pastel to highlight it again.

4 year old

I placed all the toys in the center of the table so they could "model" for the young artist.


I handed the children woody pencils and asked them to sketch the shapes of their toys.


Once they had all their sketches finished, I traded their pencils for black oil pastels. I made sure they knew that they only had to trace over the lines they were happy with and could ignore anything they didn't want as the paint would cover it up.

Why do I have them use oil pastel? Well when they start layering on the paint, the pastel seems to hold up against it so they don't completely lose all their sketching work and can still see their original idea.


I always use painting projects as an opportunity to explore mixing colors with this age group and they LOVE mixing colors!

4 year old

Just look at the rainbow spotlight behind Sophia the doll! And that hair, be still my heart. Each and every new color she mixed was excitedly announced to me, "Jeri! Jeri! Look what I made!" It was so stinkin' cute.

4 year old

I had them paint the background first that way if they went over their subject drawings, and they did, they would be able to paint over top the background so the subject was the star. This is not Bunny Buns first appearance in this young artists' work and I believe it is her most beloved companion. One time it use to be pink but as she stated numerous times while mixing her colors to paint, she is now grey and you can see this young girl reference that fact in the very thoughtful color choices she made in the painting.

Are these not the most precious keepsakes of toys that have a special place in their young lives?!

The Monday preschool class created flower paintings again with a focus on observing and exploring mixing colors.

I had some yellow gerber daisies left over from the preteen flower project and put one flower in a vase in front of each young artist.

Using the same steps as above, I had them first really look at the flowers and observe the shapes and details.


4 year old

You can see the details of their observations in their artwork too. The round circles in the center of the flower and the smaller petals surrounding the larger ones.

4 year old

I spoke to them about "artist choice" and told them that although the flower was  yellow by no means did they need to paint a yellow flower. They could choose their favorite color they wanted and guess what? Every four year old chose pink! Who knew?

They also had the choice of whatever color they wanted for their background but once the first little girl announced she wanted turquoise, they all wanted turquoise. These colors were all mixed directly on their papers using the primary colors. I truly love the movement of their brushstrokes and the variety of beautiful colors they created.

4 year old

When finished they had the opportunity to go over their black oil pastel lines and for fun I handed them white china pencils to play with and explore. You can see they all had fun using them in the center of their flowers.

I think people underestimate the capabilities of this age group. They are quite excited to try observational drawing and trying some of the "big kid" techniques.  I find by offering open ended projects, that allow them to interpret what they are observing however they want along with the opportunity to create their own unique colors by mixing primary paints together still offers up lots of process based learning. 

As I tell the parents, the objective is never product but I'm continually amazed that when left to do what they want while at the same time giving them the choice of using some "artist tip secrets" as they are called in the studio, they come up with some amazing works of art that only young children seem to be able to capture.


Wednesday, May 31, 2017

abstracted acrylic flower paintings from real life

A few weeks ago I bought a small arrangement of flowers from our neighborhood mom and pop store on my way home from Vancouver Art Gallery. I unceremoniously plopped them into a vase and stuck them in the middle of the studio tables just prior to the preteen class arriving that night.

After they arrived we began to talk about abstraction. We discussed the broad range of different ways artist abstract their work and the definition of abstraction and then I challenged them to find a way to change the shape, color or line (or do all three) to create a painting of the vase of flowers on the table.

To help them along I put on the palettes some orange/red paint and asked them to first just block in the shapes of their composition with only that color

no detail

just simple shapes of circles, rectangles, squares, and triangles.

Once finished I handed each of them a palette of primary colored acrylic paint along with black and white to begin painting.


Although I usually always have the students start with painting the backgrounds, in this case I asked them to wait until the very end. I also told them they did not have to paint their flowers and such to the edge of the shapes if they didn't want too. They were more than able to change their minds and adjust their original compositions.


In fact this artist had her vase originally bleeding off the bottom of her paper. She was quite unhappy and I told her she certainly could still change it drastically by just painting the negative space of the background. I don't think she quite believed me at first but was thrilled when she discovered sometimes I might know what I'm talking about.


The other interesting thing both the above artist discovered was that because they had painted these shapes in orange first, they could go back into the wet acrylic paint with the wrong side of their paint brushes and scratch in line work. You'll notice in both paintings how the artist used this technique to abstract their lines in the flowers and leaves.


What I was most excited about at the end of class when I looked at the final artworks is the wide variety of final compositions. I always stress that as artist the students have an open invitation to make whatever artistic choices that please them. This means they can edit or add to their artwork as they see fit. 

The students were looking at a simple blue vase of flowers that included a lily, one stem of daisies, three small pink roses, and a variety of leaf stems. Look at everything else these artists began to add!


Abstracting the flowers was not an easy challenge for these students and I was so impressed with their willingness to not only embrace something that was surprisingly difficult for them in the beginning, but work through it and find their own personal way to conquer the challenge.


Just look at this artwork! She was not so sure of the challenge I set forth in the beginning but charged forward with a confidence most practice artist can only dream about.


And finally there was this piece. In a million years I would of never thought to lose the vase entirely and take the flowers and put them in a completely different environment. And I love the red leaves she left from when she originally blocked out the shapes.

When the artwork was finished, the students had left, and I was hanging the paintings up on the walls for the week to dry, I was struck at just how uniquely each young artist resolved the challenge I set forth for them inspired by a very simple vase of flowers.

I was beyond impressed with each of the final artworks they created and very proud of each of them for being open minded, trying something new, and not giving up as they navigated their way through the process.

Their efforts were certainly rewarded in the end.


Tuesday, May 30, 2017

letting preschoolers paint big

This May I have had two preschool classes running in the mornings and one of the first projects I introduced was watercolor. I use liquid watercolor with this age group as I find it is far more inviting- easy for them to use and vibrant color.

I always present them with just the primary colors so they can explore mixing them together and observing the new colors they make when blended. I also make sure there is salt, paper towels, and water on hand to manipulate the watercolors by diluting, blotting, and absorbing the color.

I also decided to give the children paper almost the same size as them! It is not often very young children get the opportunity to draw very large and it is a great way to help develop their motor skills.

For the Monday class, we created self portraits. Do I really believe they will retain any of the information regarding the rules of the face? Absolutely not.

However I also believe that young children are quite capable and enjoy adults recognizing their ability to grasp big concepts. What I do love about introducing the rules of the face is that it is an invitation for the children to really study themselves in a mirror and an opportunity to build up a positive self image about themselves.

What do you notice about your eyes?

You have such lovely almond shape eyes.

Look at the beautiful blue of your eyes.

It is always a joy to watch them literally bloom under the compliments as they see the features that are unique to only them and take pride in those differences.


Each child first created a drawing with a permanent black marker. There were several additions each young artist decided to make when creating their drawings such as tongues sticking out and crowns. 

It was quite cute how excited they all got when they realized there were not steadfast rules as to what they could and couldn't do on their papers. Each time they would ask if they could add a bow, a crown, or whatever else, I would simply respond, "You're the artist. Do what pleases you."

I got a huge kick out of the above artwork with the tongue sticking out. She giggled as she added the tongue to her portrait but somewhere along the way the self portrait became a portrait of her grandmother. I asked her if her grandmother stuck her tongue out a lot and was assured that in fact, she did not. 


Once they were happy with their portrait drawings, they began to play with the primary watercolors and created the most incredible palettes. They had fun exploring what happened when they "bathed" their paper first, added salt, put lots of bright color on but then blotted it away with a paper towel. 

In the end, their self portraits are charming. If only as adults we could paint with such abandon and create such whimsy.

Since the other group of preschoolers had done self portraits in the past, I put a vase with a large yellow daisy in front of each child.

Using the same steps as the self portraits, I asked the children to notice what they saw in the middle of the flower. Then the shape of the petals and how many petals they saw. 

Again my expectation is not that they create a replica of the flower or even that what they observe ends up being recorded on the paper, but respecting their ability in not only observing their visual world but their capability of recording it on paper in their own unique way.

And unique way they did!


There was one yellow flower in front of them and after several questions of "can I add more flowers?" and me responding "you're the artist, whatever you decide" this is what was finished in the class.

Again I gave the children primary colors so they could explore and observe how they blended and what new colors emerged. This is always so much fun to watch because there is still such surprise as yellow and blue merge to create green. And each new discovery is shared excitedly with me as if it's Christmas morning. 

Really there is no better job in the world in these moments.


This little one spent the entire class just putting one color at the top of a petal and another at the bottom, then adding plain water in the middle to coax the colors to come together on a "play date" and watching what happened. 


And this sweet child, who asked for black paint from the moment we started. If you look carefully you can see some very small petals, which I love as they were created from her original observations of the flower on the table. Surrounding the middle was a fringe of small petals and I love that she added them to her final drawing. 

As they finished their colorful flowers, I brought out the black paint as promised. 

One mixed the black with color to see what happened but the little girl who wanted black from moment one added it with pure abandon to her background, from time to time adding a little salt or water. She talked happily as she added the black and was beyond thrilled with her results.

As you can see, each child left the studio with a painting almost the same size as themselves and although each and every one of them was adorable, they were in no way near as adorable as the children who created them.


Saturday, May 27, 2017

paper art projects

I'm always surprised by what goes sideways in the studio.

I have done origami in the past with children with huge success. They love creating the folds and watching animals begin to form and usually I find once they understand the basics get lost in the process of making and creating without much want of me.

However for some reason, this was not the case when I introduced origami cranes in the Paper and Sculpture camp. I mean how could you not do origami in a camp all about paper and sculptures? But for whatever reason, none of us could get them to work.

I wanted to bail on the project but the mother voice in my head kept telling me to continue so the kids could learn a valuable lesson of not giving up when things get hard. So let me just say this, I AM SO PROUD of these young artist. While I led them down the garden path to nowhere, they stayed with me until even I had to cry "uncle".

However I refused to give up and walk away, what kind of example would that set with the kids? So I told them sometimes you have to be able to bend and look at a problem in a new way when things are not working out.


So instead of origami crane sculptures, we created origami crane collages using the only the basic shapes they would find in a finished origami sculpture and all the tossed aside papers of less than successful prior origami attempts.


I think they came out really great, I loved the graphic nature of the collages with the pretty origami papers and it was quite interesting to what how each child interpreted what we had learned along the way down the winding garden path to nowhere with the original project. 

We took lemons and made lemonade and my hope is that beyond the project, the kids filed away that hope is not lost in even the most hopeless of situations if you are willing to relook at the problem and solve it another way.

So now on to a project that was VERY fun for the same group of kids. This was a paper "painting" project that I saved for the last day of camp since there would be no worries about drying times. And lo and behold, they had a great time doing it.


This is created with colored card stock and those little round circles that have adhesive on both sides to not only stick the papers together but also create raised layers. 

Sorry but I don't know what those things are really called, if you do please share so I am far more succinct in the future.


The kids and I together created the beginnings of the base until they got the hang of the concept, which took very little time. Each paper is a little smaller than the last, creating layers of colorful sky and water.


From there, each artist began to add details to create their own visual story. Above we have a person being eaten by sharks after falling off a boat. Those little confetti's are blood.

Gruesome but oh so creative.

There were whales and sailboats all cut out of layers of paper. To say the kids enjoyed  cutting and figuring out their own way to "paint" with paper would be an understatement. This project really held their attention until the end of camp. I hardly had time to photograph them before the parents were picking them up and I was saying goodbye for the last time.


Here's to warm days ahead full of lots of sunshine and when it's not, the ability to take those lemons and make some delicious lemonade until the sun shines again.