Showing posts with label fairy art project. Show all posts

Tuesday, August 2, 2016

fairy pastel drawings

As the Realm of the Faye camp came to a close, I put out some chalk pastels and black paper for the kids to explore.

Each child did a sketch and then we transferred it onto the black paper by rubbing chalk on the backside of the drawing, then laying the sketch right side up on the black paper and retracing it.

Each child first went over the white chalk lines with a black oil pastel and then began adding the color chalks.

Other than encouraging them to layer the colors on top of each other to blend, there was not much for me to do other than watch something magical happen.

All week long I had been stressing paying attention to line direction, be it with paintbrushes, pencils, or whatever tools we were using. Obviously that paid off as I watch them each interpret this new skill with the pastels in a way I had never thought of.

Just look at these two works of art! I love the intentional way each child decided to apply the chalk pastel.

gnomes. 7 year old

spriggan, 9 year old

They have such a stained glass quality to them, don't you think?

fairy. 5 year old

All week long this child enjoyed mixing colors and making new color discoveries. Yet again on this project, it was more of the same. You can see her figuring out how to make brown when there was no such color in the pastel box in several places on this artwork.  

What I love most about adding the oil pastel at the beginning is that by simply rubbing over the black oil lines once all the color is added, you can bring them back to the surface again. Where needed, this artist added a few more black lines to bring her original sketch back out after adding multiple layers of chalk pastel.

fairy. 6 year old

Isn't this one sweet? When she was sketching, we discussed scale as a way to emphasize the size of the fairy. I asked her some leading questions about her fairy, was she big or small? How small? If she's very small like a bug or ant, what would grass and plants look like from her perspective?

That's all it took for her to decide to add some great details to this artwork that lets the viewer know this fairy princess is very small.

fairy, 6 year old

What I most love about camps is the opportunity to show children a wide variety of different art mediums. There are some they discover they like, don't like, and really love. This artist discovered SHE LOVED chalk pastel. When the others were all finished, she was still lost in her artwork. I could not believe the time she spent on each square of that dress, mixing the chalks and blending until she got each block of color just right. I simply love this artwork, not only because it is beautiful but because it was beautiful to watch a child absolutely fall in love with creating the piece.

What a gorgeous way to end camp. As always, the children left the studio looking like they were wearing more color than what was on the papers but how proud they were with all the art they had produced during the week.


Sunday, July 31, 2016

green man collographs

During the Realm of the Faye art camp, I tried to introduce many different forms of folklore to the kids. With one boy in the class, I needed to make sure the week wasn't focused on just pretty princess fairies. Plus I wanted to have all the children leave with a sense of just how many marvelous different characters existed in the fairy realm of make believe.

One of the more interesting things I learned while researching all things fairy was the Green Man. I can now hardly wait to go to Europe this fall and keep my eye open for him image in the architecture throughout the ages.


His face is covered in foliage and he is seen as a symbol of rebirth, representing the cycle of regrowth each spring. I was amazed at the many different cultures throughout the ages who embraced this image, including images from modern day, and shared lots of different images with the kids of the Green Man.

They were equally fascinated.

I thought the graphic nature of the Green Man in architecture would be easy for the kids to interpret in printmaking. I decided to introduce a collograph project since I had so many young children in the camp.

7 year old

I started by taking some of the cardboard I always save from the back of the paper pads I buy for classes. I cut them into 4x4 squares and covering them in matte medium, giving the the opportunity to dry completely before camp started.

6 year old

The kids then spent the morning cutting shapes out of card stock and gluing them onto the cardboard. I showed them how to layer paper on top of paper to create depth to the work. They truly enjoyed this process and spent far more time than I anticipated creating their faces.

9 year old

As they began to finish, I brought out some yarn for them to add if they wanted to the works. Then in the afternoon after the kids were gone, I again covered the artworks in another layer of matte medium so it would dry before we printed with them the next day.

5 year old

I brought out green, black and gold ink for the kids to use for printmaking. Some kids did not want to print their work in black and went straight to the green. I explained to all of them that they would need to do two or three prints at first just to prime the plate before they would get a really nice one.

7 year old


Lots of discoveries were made while creating the prints. How much ink, how much pressure, how much water to add to get a nice result. While this held the interest of the older children in the camp, my observation with the younger ones was that they enjoyed creating the plates far more than they did printing with them.


6 year old

That being said, I think the Green Man had a lasting effect on the kids as you will see in tomorrow's post. It was interesting to try a different form of printmaking with the kids than I usually do and I will be anxious to take what I learned from my observations watching the children explore the process and apply it to future projects. 


Saturday, July 30, 2016

fairy and gnome watercolors

In the Realm of the Faye art camp, the kids applied the fairies they created for the Cottingley fairy project into watercolor paintings. It seemed a shame to not create some way to display the very cute fairies and gnome they had made.

So each of them created a background in watercolor of where their magical beings lived.

9 year old

I showed them  several techniques they could try with the watercolors and as usual, the salt was a big favorite. 

6 year old

I gave each child a water soluble pencil to draw their background first and then just primary colors to create their paintings. They always enjoy exploring how to create different colors with the paints and always rise to the challenge of creating brown! Definitely the most challenging of colors to make for young children and they are always quite proud of themselves when they accomplish creating it.

7 year old

Love the way the above to children used the salt to create fairy dust in their paintings.

When the backgrounds were finished and dry, I had each child take their fairy (or gnome) and decide where into the works they would want them positioned. And then I applied a matte medium to the back of them and on the sides to make sure they were adhered to the paper.

5 year old

I love the way the finished works look with the kids gluing the fairies down after painting the background. 

7 year old

The kids seemed to love it too as they admired their finished works and the memories they held of lots of fun in the woods the day before and now displayed in beautiful pieces of art.


Sunday, June 28, 2015

Happy 6th Birthday Miss M!!!


Yesterday there was a birthday party at the studio for a darling little six year old. Her mother told me she liked all things "girlie girl" and sparkle.

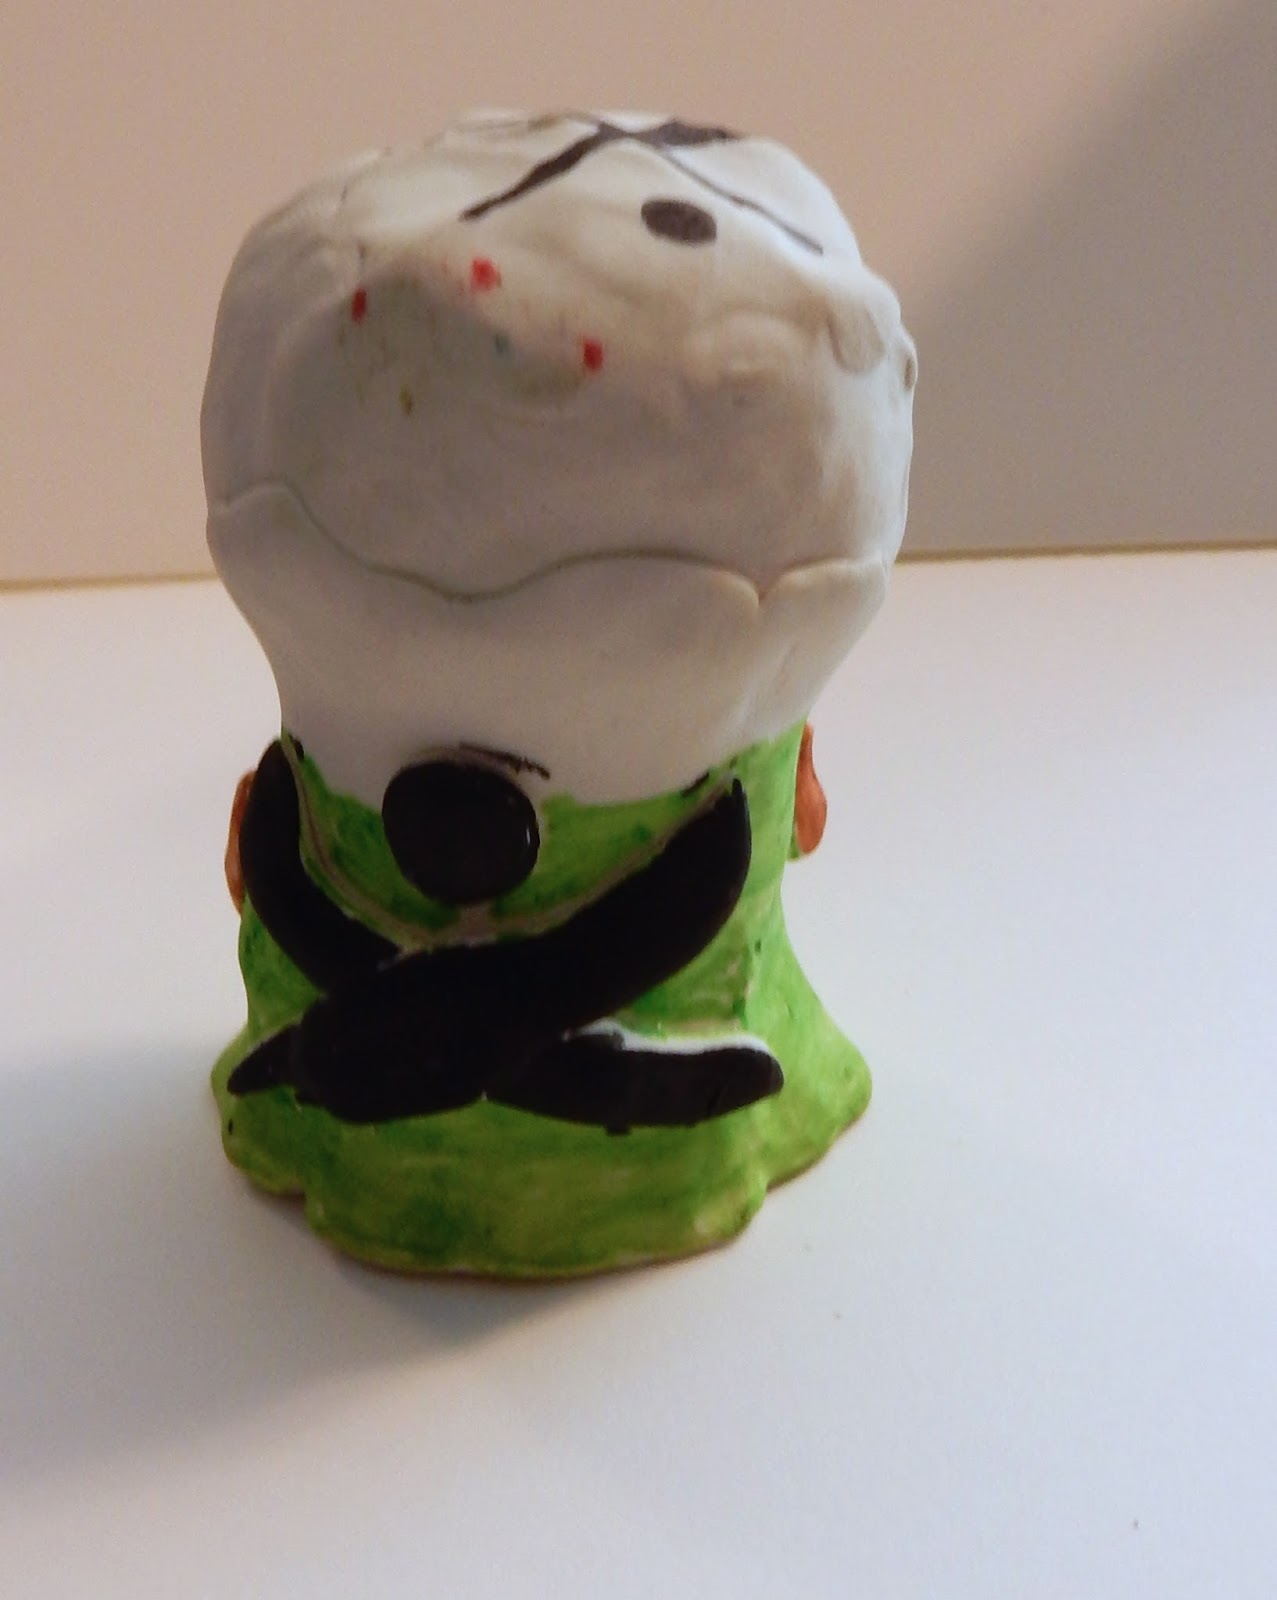
I suggested we make "Fairy Heads" inspired from a project I do in the fall with the students where we make Sugar Skulls.

The mother thought the girls would enjoy the project and so we were ready to go!

Let me just say this was the world's most calm birthday party I have ever held....even after they were fed the world's cutest Rainbow Birthday cake made by mom.

So it was very easy for me to work with the girls.

I gave them each some FIMO clay in white to sculpt their heads.  Working with the girls, we went over how to build a face.

And as with most projects, children began to add their own visions as they worked and what started off as fairy heads, quickly turned into a variety of interesting ideas.

Like the birthday girls' cat head.

birthday girl

Or her sister's alien!


Here are a couple of other views of her sister's alien. She was quite adamant that I take photos of all the details to share and who could blame her? She put great thought into her design.


Her oldest sister however created a darling fairy head.


While the FIMO was in the oven baking, the girls enjoyed cake and opened presents. Then they used markers and sharpie pens to color their sculptures. When they were happy with the color, I had crepe paper in the birthday girls' favorite colors to make flowers to put in the hair and rhinestones for a bit of glitz.

What I love the most is how different each girls' work is from each other. I love that after working out a project idea and putting out materials with an idea of the finished work in mind, children will always use those materials in the most unexpected ways when given liberty to add their own ideas to the parameters of a project. In the end, the work is always so much better than my original thought.

I had put out marker colors I thought would work to color hair, create eye color, and add a bit of blush to the cheeks or lipstick.


And some of the girls used them that way.


And others went off the beaten path and created green hair and why shouldn't a fairy have green hair? 


One girl created quite an elaborate head piece for her fairy, lots of flowers and rhinestone. This is the second set of pictures taken of the work because she thought she was done and had me photograph the work and then went back to the table and began adding more flowers and stones to her piece. And again, a bit of unexpected with pink eyes instead of traditional "human" color eyes.


I enjoyed working with this group of talented girls and I certainly hope they enjoyed the class. But most importantly, I truly hope Miss M had a very happy birthday and feel very privileged I was given the opportunity to be apart of it.

Happy Birthday Miss M!