Showing posts with label clay art project. Show all posts

Thursday, August 11, 2016

air dry clay birds in nest

OK. I'm just going to admit it.

This was a fail.

My plan was for the kids to make air dry clay birds, (not a fail), and put them in nest they created by making yarn bowls and then weaving thread, ribbon, scraps of fabric, sticks, and whatever else their imaginations could dream up and I had available from my hoard.

I thought it would be great addition to the clay project in the Birds of a Feather camp.

9 year old

And they were, but they needed a little help from me to make it to fruition and now I know (and lucky for you, you know!) what I will need to do differently next time.  Because they are quite wonderful and the kids had a good time weaving into them, so I know with a small modification this will be a win/win project instead of a win/eh project.

rising Phenix,  6 year old

After the kids had created their birds out of air dry clay. They got to work creating the yarn bowls. I have done this project before with great success so wasn't really worried about the outcome and thought I was quite brilliant adding a weaving element to it.

8 year old

And that my friends is what tripped me up. 

The weaving.

Creating a yarn bowl is very simple. You need a bowl. You turn it upside down and cover it in plastic wrap, or spray oil, or both if you are OCD and mix up a bowl with equal parts white glue and water. Then you simply let the kids dip lengths of yarn into the glue, removed the excess and string it around the bowl until their hearts are content. 

When it's dry, pop the yarn off the bowl and ta da! A yarn bowl!

Or in this case a yarn nest.

7 year old

So if you think these birds are as wonderful as I do and can't wait to try it with your own kids, here is where you can learn from my mistake.

Don't skimp on adding the yarn. Don't panic that there won't be enough room between the gaps for the kids to weave. 

Let them add LOTS and LOTS of yarn to make the bowls nice and stable.

7 year old

I had the kids do about half the yarn I would usually do I was so concerned about the room for weaving. This was completely unnecessary and when I pulled the bowls off they went as limp as my hair does on a humid southern afternoon.

not good.


My first extinct was to look at the cute newly painted birds and just chuck the "yarn plates", they were certainly lovely enough on their own. However I knew the kids were really excited about those bowls and so I frantically started trying to figure out how to salvage them.

In the end, I took some twine and began to pull edges together and knot it until I had a bowl shape. Each 'bowl' needed about 7-10 knots to make that happen. I was finishing up as the kids arrived and explained what had happened because we all learn from mistakes. 

I'm also a huge proponent of "embracing the mistakes" and so shared what had happened, how I had resolved it, and we all agreed that the twine added a nice touch to the nest feel of the project.

Not that I would recommend you do that but it was nice for the kids to see that even the art teacher has to "embrace the mistake" sometimes and use a bit of imagination to create something wonderful.

5 year old

In the end, the kids were able to weave into the nest. As you can see in the above nest, some even added some eggs made out of wadded paper and masking tape.  

In spite of my blunder, the kids were quite happy with their birds and the nest. 

Most importantly it was, although I hate to admit my mistake, a great lesson that even adults have to work through mishaps and trust with a little imagination and creative problem solving one can come up with something still awesome in the end.



Tuesday, July 19, 2016

clay finger puppets

While the morning camp created plaques of their family pets, the afternoon camp of Pets-n-Art created finger puppets in clay of their pets.

Pushka. 7 year old


After molding some clay around their fingers, they then added the features of their sweet pets.

Q-Bert. 7 year old


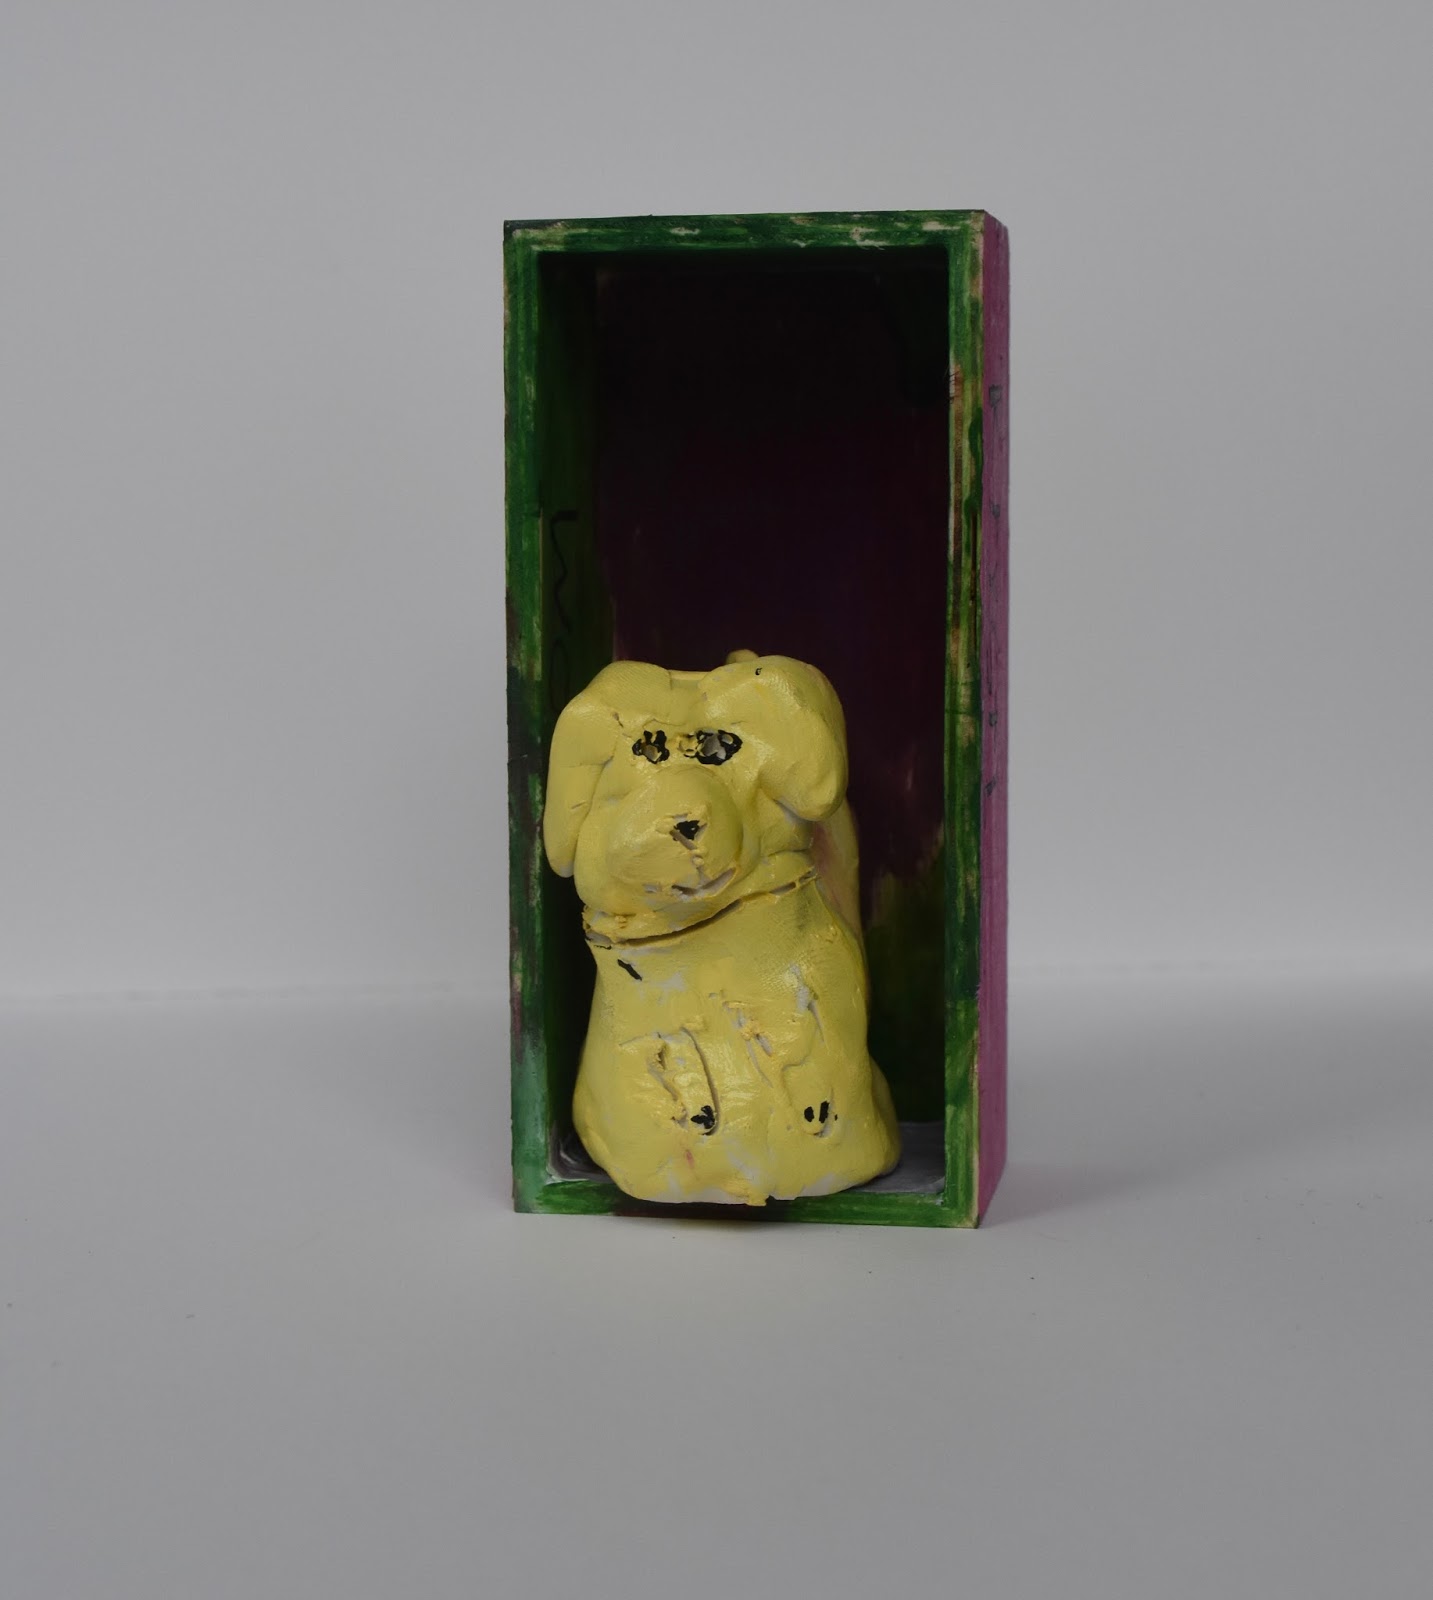
The finger puppets happened by chance to be truthful. I had found these cute little boxes in the spring that I purchased figuring I would create a project around them. My first thought was the kids would just create a sculpture of their pets to put inside the boxes I had planned to have them paint. The easiest way for them to create a sculpture that would fit inside these small boxes was to have them create them on their fingers.

Tigg's, her favorite stuffed pet.  7 year old


Then I saw them all sitting around the table with their pets attached to their fingers and thought,'what cute finger puppets' and the project morphed into it's final form.

Pushka. 5 year old


The kids loved creating puppets of their pets.

Krystal. 7 year old

They enjoyed sculpting them, painting the boxes, and ultimately the puppets themselves.

Fiddy. 9 year old


They loved that it was a surprise element to their final works too. It was fun to watch their faces while they surprised their parents with the knowledge they were much more than a simple sculpture, they were puppets!

I think all of these little boxes and puppets came out so sweet. And I am quite thrilled to see such a wide variety of ways the kids created their puppets too.

I hope they have lots of fun playing with them at home.

Tuesday, May 10, 2016

clay creatures

This spring I ran a few Saturday workshops for those families whose weekly schedules were too jam packed for art class.

One of the workshops had the kids creating imaginary bugs in clay.

My original thought was they would place them in glass jars, but those were quickly placed back in the cupboard as the kids brought their own ideas to the table.

I have a box full of shells in the studio that I brought down and the next thing you know, the kids were creating some very interesting garden snails with them using oven baked clay.

9 year old

Isn't this great? It reminds me of a moose with those shells as ears. I love the texture she added to the clay too.

9 year old

This fanciful snail is just all kinds of wonderful. Part peacock with the way she utilized the scallop shell and feathers and part unicorn! There are bells on the antennae! This is just stellar.

The girls were quite pleased with these in the end.

Then there were these butterflies created too.


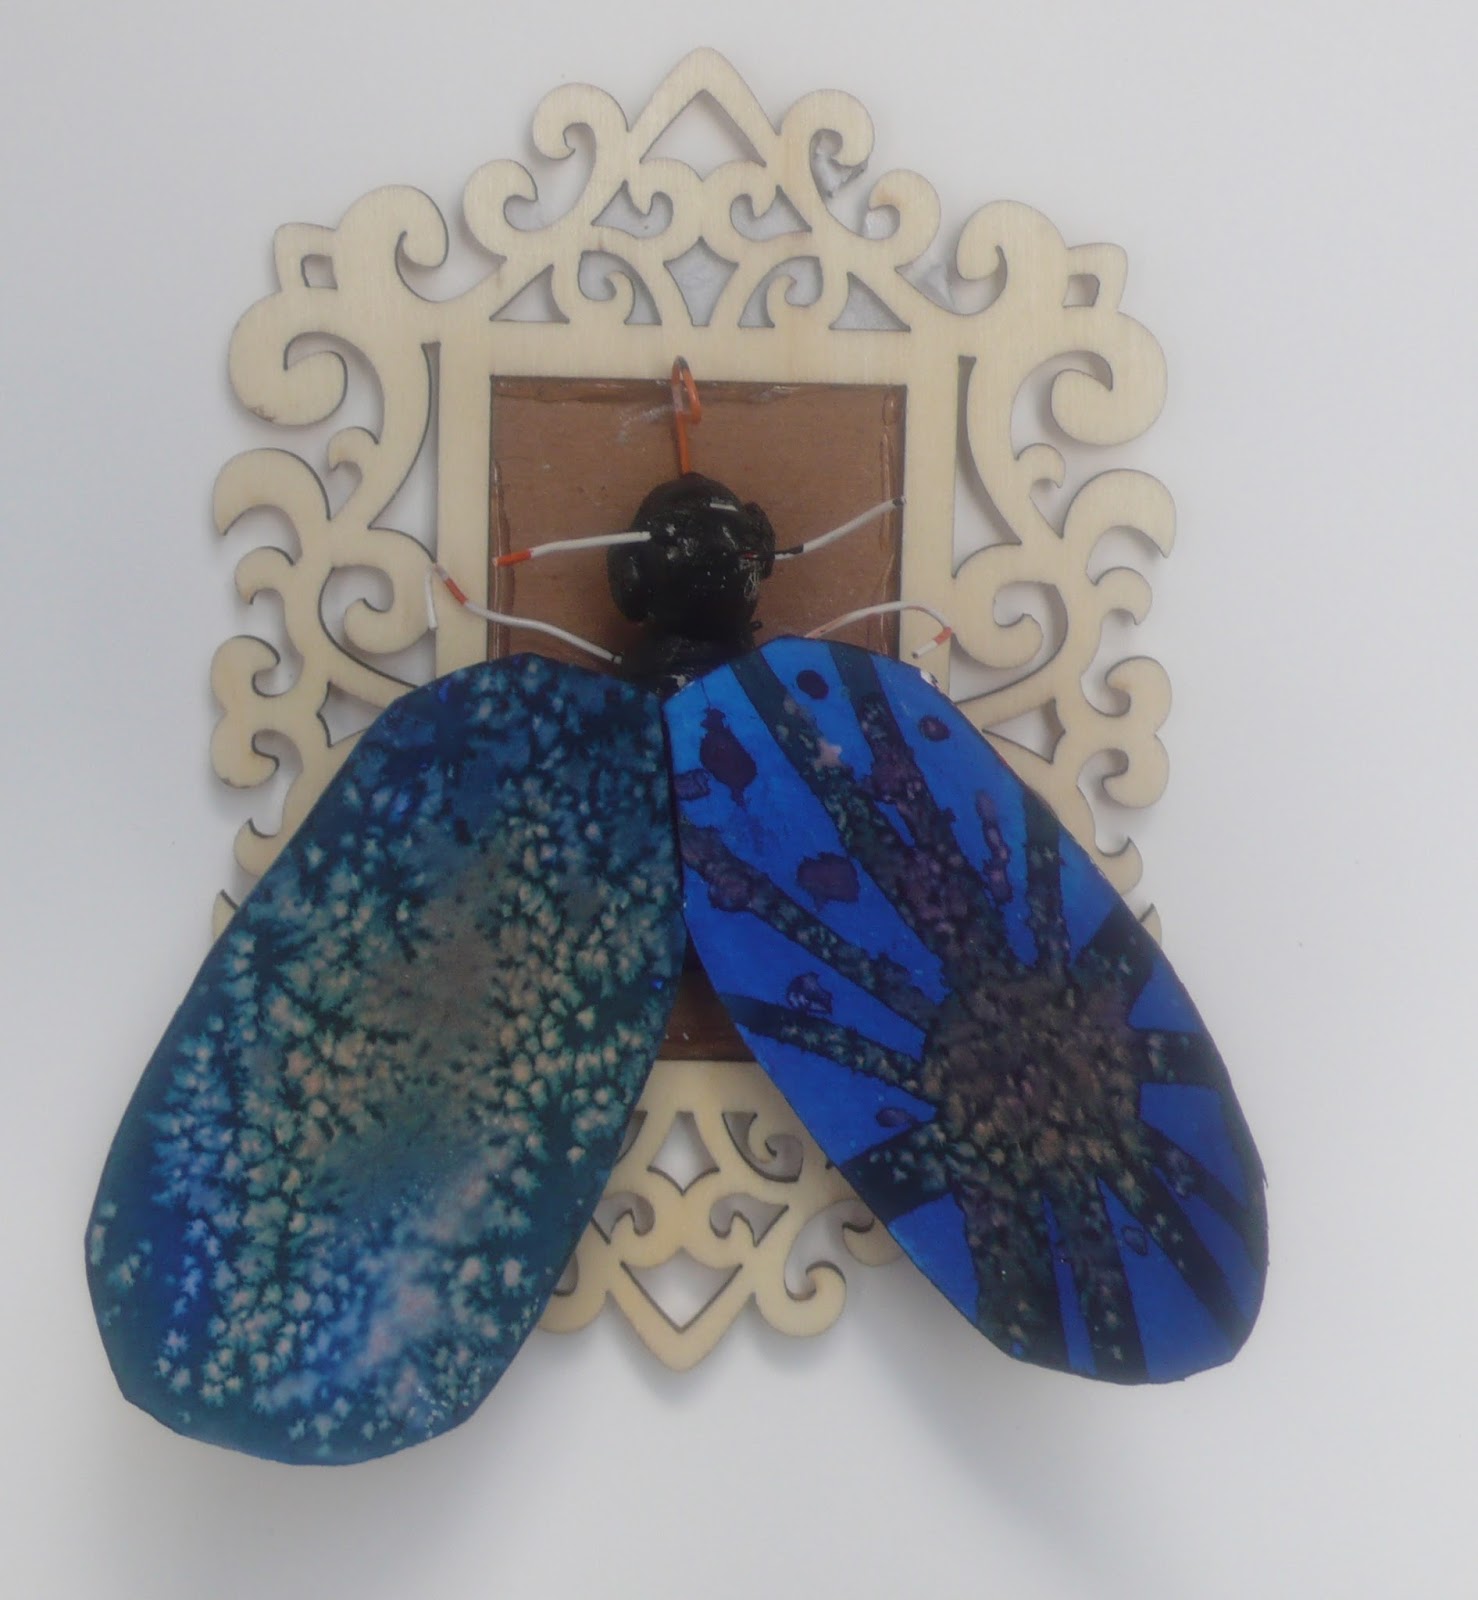
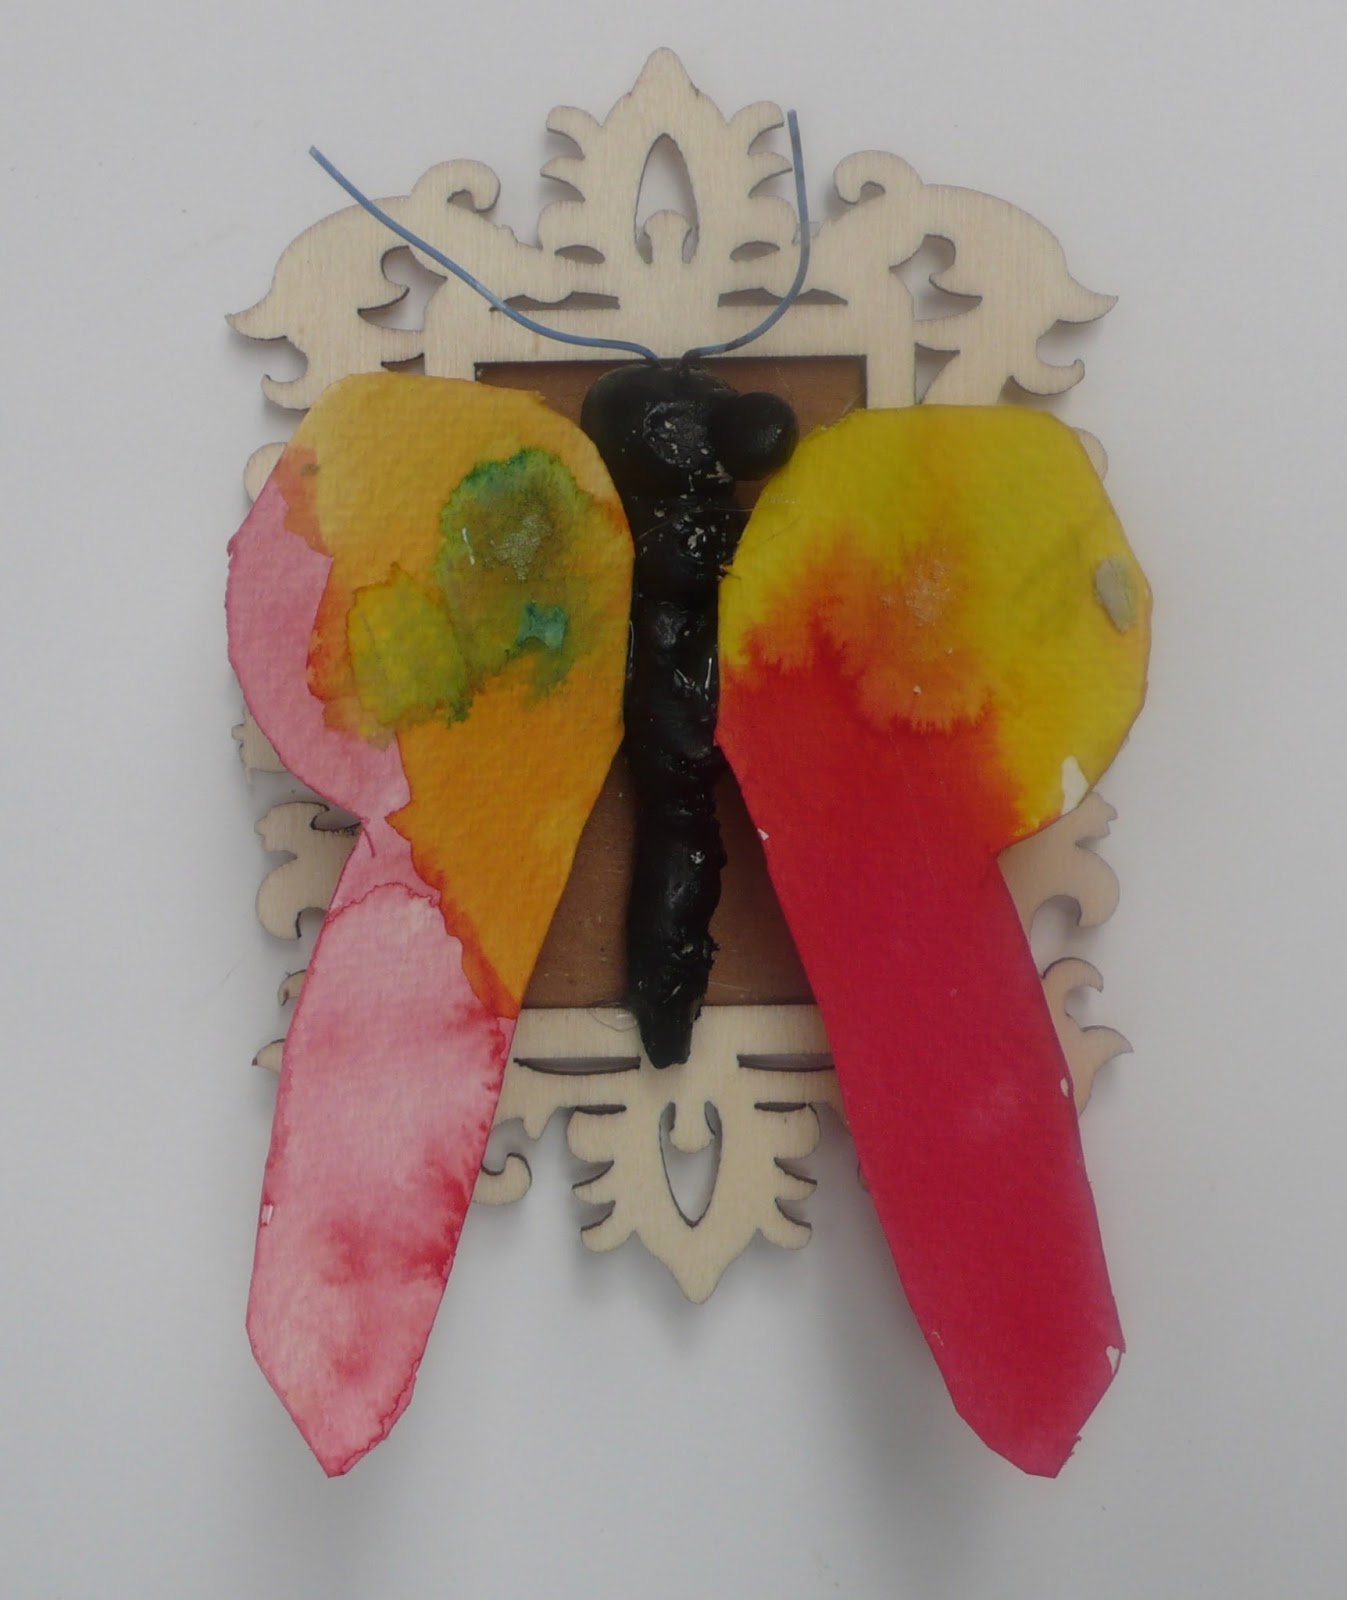
I have done this project before and continue to come back to it because I know how much the kids enjoy creating them. While the clay is baking, they create the wings with watercolors on watercolor paper. 


Then when the clay cools, the wings are hot glued onto the back of the caterpillars.  The glass marble eyes were baked into the clay but anything plastic (like the rhinestones) were glued on afterwards.

The two hours went by quickly as everyone was having lots of fun creating their bugs. What a terrific way to spend a late Saturday afternoon.

Summer camp schedules are up on the website now at KudzuStudio.com and filling up quickly. I could not be more excited about all the new and fun projects I am in the process of creating to share with the kids. Hope to see your child there too.


Friday, March 25, 2016

First Nation inspired clay mask

We kicked off the "Hello Vancouver" spring break camp creating mask inspired by the First Nation. It seemed quite appropriate when being inspired by our beautiful city to remember the people whose land we share.

I shared with the kids the traditional shapes they would find in First Nation art, along with a wide variety of samples of different animals created by First Nation artist. I also shared the symbolism behind each animal and we discussed the limited use of color the works.. Using that information as a jumping off point, we also discussed how in other cultures we use animals to symbolize different traits and powers.

Like in Harry Potter, a novel series very popular with this age group and easily relatable to the kids. Harry Potter's stag was a quick way to help them recognize the concept.

Then we discussed animals local to our city. What powers might they possess? What animals did they feel represented them? Or maybe held powers of protection?

Then with one last reminder that we were not necessarily creating traditional First Nation mask but using the art form as inspiration for our own interpretation, I handed out some oven baked clay in white.

8 year old, eagle

Using their kneecap as a base, they began to shape the clay and add the features they wanted to highlight the animal of their choosing.

eagle, 8 year old

cat, 8 year old

When the were happy with their mask, I gave them an opportunity to add holes in order to put raffia through when finished. Only one artist wanted to do this step. Then we put them in the oven to bake.

owl, 10 year old

When they were cooled, which takes about 15 minutes in the freezer, each child used red and black paint to add accent color....or in one case, color the entire animal!

owl, 11 year old

I am so pleased with the results, aren't they stunning?  Each mask is a personal reflection of the artist, of an animal that has some significance to them. I think they reflect each child perfectly.


Tuesday, February 23, 2016

clay Santo inspired dolls

The preteen class has been working hard over the past three weeks on some Santo inspired dolls.

I never run projects in the studio that I have not worked out previously on my own. I always want to make sure I work out any kinks prior to introducing the project to the kids and make sure skill wise it is appropriate to the age group. I had done a "test run" of this project a few years back and created a ballerina doll for my youngest daughter, in honor of a dance performance she had done as a tooth fairy when she was four years old.

The doll sculpture had somehow come off the base and so I had it in the studio to fix. The preteen class saw it and wanted to do one themselves.

And why not?

This project is a great way to introduce all the details of creating a face in 3D. We used a very lightweight air dry clay and the girls started these with a small cardboard cone that they taped an egg shaped head made from aluminum foil too.

The first week they just worked with the clay to create the upper body, face and hair.


The following week once dried, I gave each girl a small piece of sandpaper so they could sand off any really rough areas. Then using acrylic paint, they did all the painting. With this clay, there is no need to gesso. 


Once they finished the painting, we adhered the dolls to a wooden dowel base with some hot glue. As you can see, one student was able to begin adding a skirt before the end of the second class.

The final week was spent getting the dolls all "gussied up". 

First they each added a skirt to the doll. I had a bolt of white tulle they could use, but also offered up some old book pages they could pleat to make the skirt.


They all chose the white tulle but quickly discovered it was not as easy as they thought to trim up to create the desired skirt length they wanted once it was hot glued into place.


Each girl came up with their own unique way to problem solve this challenge. Some separated each individual layer and then trimmed and others just gathered it all up into a small bunch, cut, and then cleaned up any frayed edges.

Needless to say, the studio looked like there had been a cat fight between two brides at the end of class with bits and pieces of tulle scattered all over the place.

Once the girls were happy with the skirts, they added a bit of ribbon around the waist to hide where it was glued on and then could add any other accessories. 

11 year old

This lovely lady has flowers created from crepe paper and a design added on the skirt using some glitter glue.

10 year old

This artist wanted to make flowers out of clay, so I gave her some oven baked clay to use. She also added some details to the skirt with glitter glue and if you look carefully, you will see she also gave the bride a couple of beauty marks near her eyes made of glitter!


Here's a look at the doll's veil, held in place with some more flowers. We went over the traditional saying of "something old, something new, something borrowed, something blue" which is how the pretty, soft blue ribbon was chosen, instead of white.

And finally, a fairy godmother! Because who doesn't need a fairy godmother in their life?!

10 year old

The artist adorned the skirt using rhinestones I had left over from a pinecone elf workshop at Christmastime. She used a HUGE glittery gold ribbon to create a bow, so that her fairy godmother looks like she has wings to fly.

As the girls finished, my eyes teared up as I could literally watch their chest swell up with pride as they admired the final work. They were so pleased and happy with their dolls. It was such a special moment for me as a teacher to watch each of them.

Each girl was so excited to finally get to take these works home. In fact, one artist was heading straight to her grandmother's house to share her doll. Her grandmother is a local artist who exhibits textile dolls and her granddaughter was hoping she would use her creation as inspiration!

I have no doubt that these dolls will be very special pieces in their rooms at home and I can't say I blame them. I hope they enjoy them for a long time to come.


Tuesday, February 16, 2016

clay animals

I realized it had been awhile since I had done a clay project with the kids and so decided in some form or another, I would do clay with most of the classes.

So prepare for a lot of clay projects coming up as they kids complete them.

For the Wednesday class, a class full of little girls, I knew animals would be a big hit.

Each girl could create the animal of their choice.

They could give it any personality they wanted.

And what an adorable group of creatures they created!

I used an air dry clay because I'm still dreaming of that studio kiln....but I have finally settled on a clay I really like, that doesn't crack or break easily. I love the way it holds paint too and although it feels expensive when I buy it, in reality it goes a very long way and still falls within a reasonable budget that makes it feasible for large groups of children.

So the first week, the girls spent the hour and a half creating their clay animals. For those that finished a little early, I brought out some chalk pastels and had them draw their clay creatures.

6 year old

A few weeks ago, these young artist created doughnut paintings inspired by Wayne Thiebaud and one artist has been obsessed with doughnuts ever since. At the beginning of class when they draw whatever they want for warm up, she draws doughnuts and that carried over to her clay animal too. 

Her little bunny is holding a doughnut. In both the above pastel portrait and in clay.

6 year old

With sprinkles even! How cute is that one spotted eye also?

So as you can see, the following week when the clay was dry, the artist used high flow acrylic paint to add color and details to their works. The girls came into class so excited to paint. The only thing more exciting was the anticipation of taking the work home that night and several times they asked for reassurance they would indeed be dry enough to go home with them.

I can't blame them as I put them on the table to dry, they are all so precious!

Like this turtle created by one of the six year olds. She was painting pretty fast and I was looking for ways to not only slow her down but also add a bit more detail to her painting. I suggested adding some spots to the turtle.

She was quite indignant when she exclaimed, "Turtles don't have spots" as if I had just suggested she add a third eye to her piece. I took out a reference folder full of all types of turtles and showed her lots of spots and stripes that turtles sport.

She was still not convince and so sorry to the big man upstairs, but she was of the opinion spots and stripes were "weird". I couldn't help but chuckle and let her continue on with her spotless turtle.

6 year old

We had a couple of dog creations.

8 year old

The above artist was so proud of her dog that she created of her real life pet.

8 year old

Or her good friends' dog with a carefully painted blue collar.

8 year old

And how can you not be smitten with a bunny wearing a top hat? And I love the expression the artist carefully painted on the face. Obviously he's a little concerned someone is coming for that yummy carrot or is he admiring the doughnut of the other classroom bunny? Either way, this is just too cute.

6 year old

Another bunny and please take a moment to look at that smile. The artist worked SO HARD on it and painted it several times to get it "just right".

Then there is this sweet piece. Her mother had some surgery the day before we started the clay project and this weighed heavily on her heart. She was thinking of her mother the entire time she was creating the work, a cat holding a heart. She planned to write "get well soon" on the heart.

By the following week, her mother was doing better and the message changed a bit.

10 year old

What a lovely little present for her mother. I know this little cat will mean a lot to her.

And finally this elaborate animal from my class artist who I affectionately call "the caboose". She is quite thoughtful in her decisions. She is extremely detail oriented and likes to take her time when creating, something I always admire in her. 

10 year old

And if you have to kiss a lot of frogs to find your prince, if they are this cute, who cares? I love her color choices and the small detail of the flower she added.

And there you have it. As excited as each child was to take this project home that night, I would of loved to keep them for a week to admire. As you can imagine, the artist were having none of that suggestion when I made it.

I can't say I blame them. I'm sure each sweet sculpture has found a place of honor in their new homes to be enjoyed and loved for a long time to come.


Friday, July 24, 2015

clay and watercolor butterflies

While on a journey through the jungle at the "Jungle Jive" art camp for North Vancouver Arts Council, we discussed the beautiful butterflies that make their lives in jungles around the world.

I thought it would be fun to "capture" our own colorful jungle butterfly.

The Programme Director and I diligently collected our empty jars over a period of a month for the students to use to hold their wild butterflies.

And the kids were so excited to pick from them to hold their fluttering creation.

First using air dry clay, they created a body for their creature.

I told them to keep looking at their jar and making sure the butterfly would fit inside.

I said this over

and over

and over

and over.

Some added wire for legs, antennas, and even tongues!

Then I handed them a small piece of watercolor paper and a palette with the liquid watercolor in the primary colors only.

I quickly went over some of the techniques they could use with the watercolor and also a quick lesson on symmetry.

And then just so they didn't get to upset if their butterfly didn't come out symmetrical, I also talked about how artist Jack Shadbolt created asymmetrical butterflies.

Then off they went with me once again reminding them to remember the jars they wanted to fit their creation into and double checking that what they were creating would fit inside.

I said this over

and over

and over

and over.

Once the bodies were dry, they painted and I hot glued their wings onto the body.

The results are lovely

Even if very few are actually contained in the jars we worked so hard to collect for them because like my kids when I remind them over and over to clean their rooms, my chant of, "double check your butterfly fits into your jar" fell upon deaf ears.

9 year old
8 year old

9 year old

6 year old

6 year old

9 year old

9 year old

6 year old

7 year old

9 year old

7 year old