Showing posts with label butterfly art. Show all posts

Tuesday, April 19, 2016

mixed media butterflies

I included a mixed media project in the "Creatures Big and Small" camp because I knew the kids would enjoy a project where the materials were constantly changing.

I also knew I had gained the trust of the kids so they wouldn't panic when we were in that stage of things just looking like a hot mess.

10 year old

I always love the layers of interest that develops in this style of work. I think it always belies the age of the kids who created the art because of the complexity too.

Each piece was started with the kids applying two pieces of scrapbook paper to the acrylic paper and then painting white and cream on the paper. From there they used a water-soluble pencil to draw in their butterfly.

6 year old

And then they added color with chalk pastel and watercolor.

5 year old

They then went back in with white acrylic paint and toned down the color.

9 year old

They then used charcoal and black oil pastel to add any other detail they wanted to their butterfly.

4 year old

They could also go back in with some color if they were unhappy with all the white.

7 year old

I think they each got a unique and very interesting layered artwork. I think they had fun working with almost every art supply in the studio too! I always love watching the kids create a mixed media piece. I find this art form is a great way to really let them explore process and not get caught up in what things will look like in the end......because none of us know what will happen by the end.

5 year old

But as you can see, the end is spectacular.


Thursday, January 21, 2016

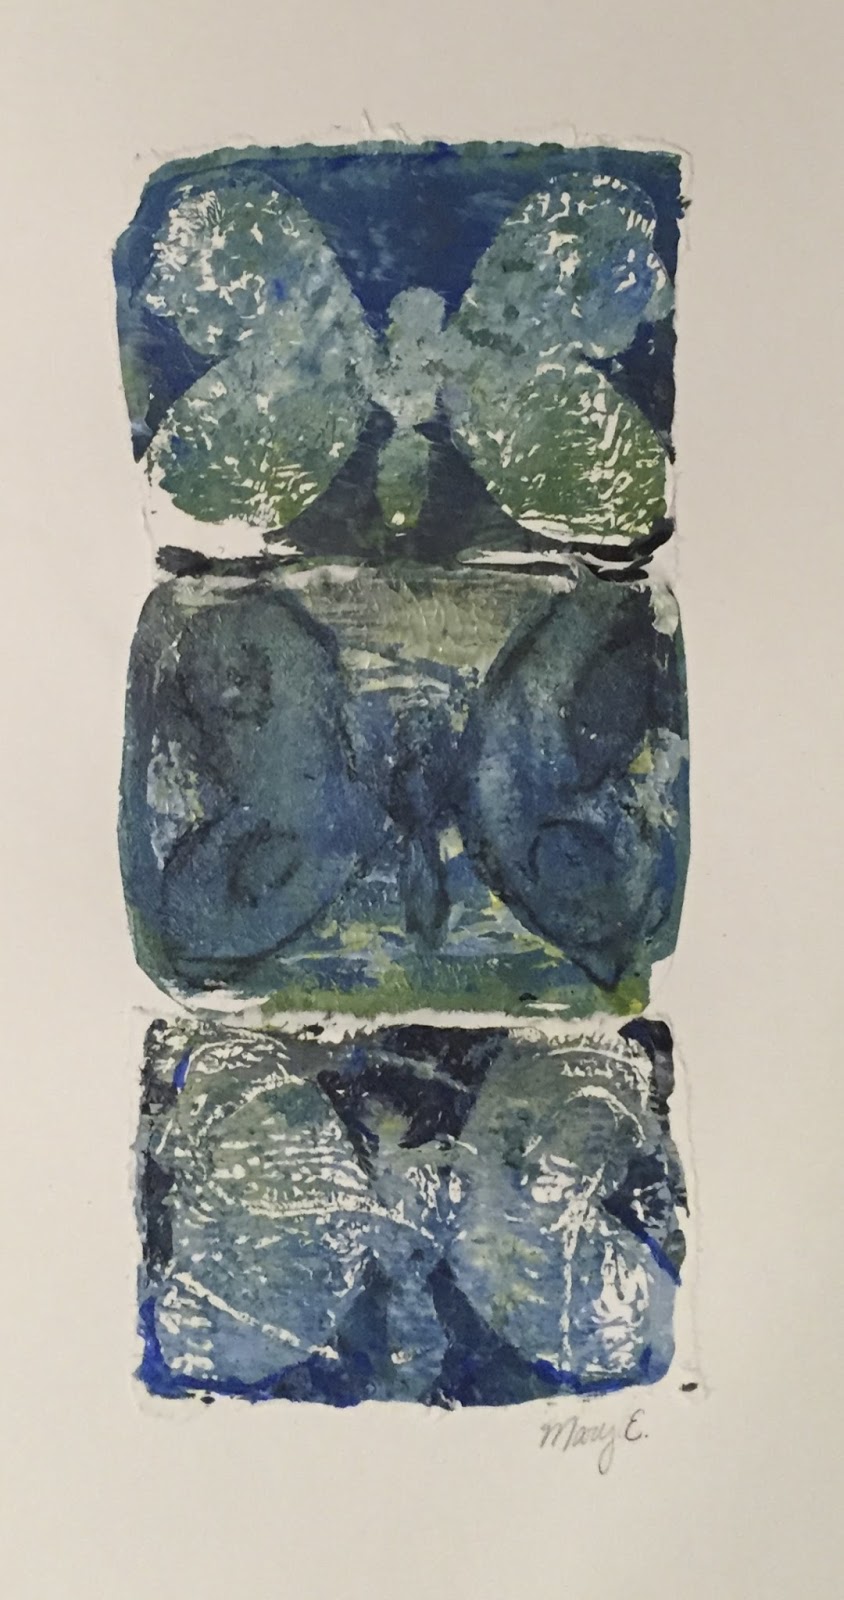
butterfly mono prints on gelatin

There was a birthday party in the studio last night for a 13 year old girl.

After a few discussions with her and her mother, she decided to do a project on gelatin printmaking for her and nine of her friends.

Let me just say, there is not a rock concert in the world that holds a candle to the volume level of a small room filled with ten very happy and excited 13 year olds. I believe my ears might still be ringing.

The girls started off by sketching a butterfly shape on card stock and then cutting it out to use as a stencil.

birthday girl

Then I pulled out the gelatin plates. The girls were fascinated that they were using a jello substance to print on and even asked if they could eat it, which I quickly explained they could not since it also contained glycerine in the mixture.

They first started with a piece of bristol that was cut slightly larger than the gelatin plate. They "inked" the plate with some white, blue and yellow acrylic paint using a brayer, created some texture by stamping into the paint with some bubble wrap and burlap, then pulled a print.

I then asked them to put some blue paint on the burlap and stamp that into the plate, take the same piece of paper and pull another print.

Then using primarily white paint, asked them to once again color the plate, place down their stencil, and using the same piece of paper pull yet another print.


I had also given them two sheets of palette paper, the same size as the bristol. 

(I think freezer paper would work just as well)

Using the non-waxy side of the palette paper, I asked them to pull a ghost print of the leftover paint on the plate.

Now I asked them to use black and blue to paint the plate. They laid down a bit of string and their stencil and now using the the second paper they had made a ghost print on, pulled another print.


Then using the first piece of paper, the bristol, they pulled a ghost print using the leftover ink.

This made some of the girls unhappy, not going to lie. They liked the bristol print they already had and could not understand why they were printing on top of it again.  They were even more unhappy when they pulled the ghost print as they lost a lot of the previous work.

But all was not lost because once again, they added a lot of white to the plate, laid down the string and the stencil and pulled the last and final print on the bristol paper, the first paper they started with and voila! that is the middle print you see on all this artwork.

Happy girls again.


Now with the leftover white ink on the plate, they took the final piece of palette paper and made a ghost print using the non-waxy side of the paper.

Once more laying down blue and black paint, the string and the stencil, they took one final pull using the third paper.

They now had three complete prints of their stencil and a stencil that was barely hanging on in one piece. Thankfully they no longer needed it to complete the project and could throw it away.

At this point, I told them they could go into their work with a small paintbrush and add any details they wanted. I stressed trying to stay loose and use the brush sparingly so they did not loose the essence of the print work they had just finished.


Once done, we gave the tables a quick clean and began mounting the three prints. The idea was the combine them so it looked like one piece. 

The girls first cut the bristol paper to the paint lines using scissors and glued it down in the center of the paper.


I then showed them how they could use the top of the paintbrush dipped in water to "cut" the two palette papers. All you do is create a line with water and then gently pull. This gives a very organic edge to the work, which lets it blend nicely into the bristol paper when pasted on top.


Or not, as this artist decided to do. She wanted all three prints separate and it's good to see the project looks just as nice. I love when students stay true to themselves and in the process teach me something new about a project idea.

Anyway the idea of "cutting" with water and the back of a paintbrush made some girls quite unnerved and so I assured them it was fine to use scissors if they wanted too.


They cut out the last paper, using either scissors or the paintbrush and water, and glued it on top of the bristol paper. For glue, we used just a basic glue stick, nothing fancy.


And once all three pieces were mounted together, each girl had the opportunity to add a bit of charcoal into their butterflies for one last bit of detail.

Then it was time for cake and goodie bags.

And more squealing, giggling, and general noise at a decibel level that would impress any rock band.

The birthday girl had taken the time to make each goodie bag reflect the likes and personality of each friend. Is that not the sweetest? I think it was a great example of the character of girls in the room that night.

I hope they all had fun, I sure enjoyed meeting them.

Happy 13th Birthday Ms. A!! 


Saturday, November 28, 2015

Watercolor Butterfly Birthday Party

Yesterday afternoon there were ten children here to celebrate an eight year olds' birthday. The theme was butterflies and so I created a project using watercolor where each child would create a large butterfly painting.

I put out some reference for the artist to use and spent a bit of time showing them how to blend color, (they had only the primary colors and black) and several different techniques they might want to use when painting.

Instead of working out their sketches prior on working paper, I had the kids draw directly on the watercolor paper. I stressed drawing lighting so if they wanted to change a line they weren't left with a pencil mark on the paper after erasing, since any pencil mark will show through the paint.

The paper was so large that the working sketches would not of worked anyway and it was a great lesson for the kids to learn to work within mistakes since most still drew too hard and had lines showing on their paper even after copious amounts of erasing.

But without those extra marks, works like this would not of been created.


The green design is a direct result of having to incorporate the original wing she created on the left side. She decided it was too small but because she could not get the pencil mark to completely erase when redrawing the wing, she used that mark to create an interesting design that she then mirrored on the rest of the work.  She was very proud of her finished art in the end.


Using the liquid watercolors and exploring all the things they can do is always quite exciting for kids. Many get lost in the process and suddenly find themselves looking at a paper covered in so many different colors their subject matter gets lost.


Such was the case with these three artworks. The girls looked at me for help as they knew their butterflies were lost in all the color. What a great opportunity for them to develop problem solving skills and learning to think outside the box. 

The above two works were fixed by going over all the variety of colors in the butterflies with one solid color to bring it together then while they had pizza and cake, I went over their original sharpie lines with black india ink. These two things combined left the final works vibrant and quite beautiful.


This artist had every color in the rainbow on her paper, both on the background and the butterfly. She went over all the color in the background with a blue/black mixture she made and then added salt on top so some of her colors would show through.  I think all three works came out lovely in the end and are a great reminder for the artist to not give up and with a bit of ingenuity on their part, still find success no matter how daunting things might be in the beginning.

birthday girl!!
I love the way the birthday girl created the background on this work. Using blooming, salt, and a wet on wet technique that allowed the colors to mix and blend on their own, she got some very interesting results. I love how it works against the graphic nature of her drawings. Stunning!


This is a really lovely example on how adding black to the color can give beautiful muted results. I think it takes a lot of courage at eight years old to add black to bright color and she rose to the challenge marvelously. This is so pretty.


This is just all kinds of cute. How awesome are the color decisions she made?  The warm palette with just a splash of cool?  So great. 


As this artist was putting in her blue background, she chose to create a flower design using a blotting technique with the paper towel. Can you pick them out?

Combined with the salt, it created a stunning result. She was very deliberate with each color choice and technique she made throughout the process and was very proud of her finished result. I don't blame her.


Then there was this piece. For all my talk of "draw the butterfly big", she did the exact opposite with flare. It was a great opportunity to show the kids how making the butterfly small when everything else is large still puts the focus on the butterfly. The size combined with the color decisions she made created a wonderful result.


And finally the lone boy in the room, the birthday girls' big brother, who wanted nothing to do with butterflies. I gave him some bug reference to take a look at and he decided on created a centipede work.

Lots of singing, lots of yelling, lots of fun. Thank you Miss C for letting me take part in your special day.  

Happy 8th Birthday!!!


Friday, July 24, 2015

clay and watercolor butterflies

While on a journey through the jungle at the "Jungle Jive" art camp for North Vancouver Arts Council, we discussed the beautiful butterflies that make their lives in jungles around the world.

I thought it would be fun to "capture" our own colorful jungle butterfly.

The Programme Director and I diligently collected our empty jars over a period of a month for the students to use to hold their wild butterflies.

And the kids were so excited to pick from them to hold their fluttering creation.

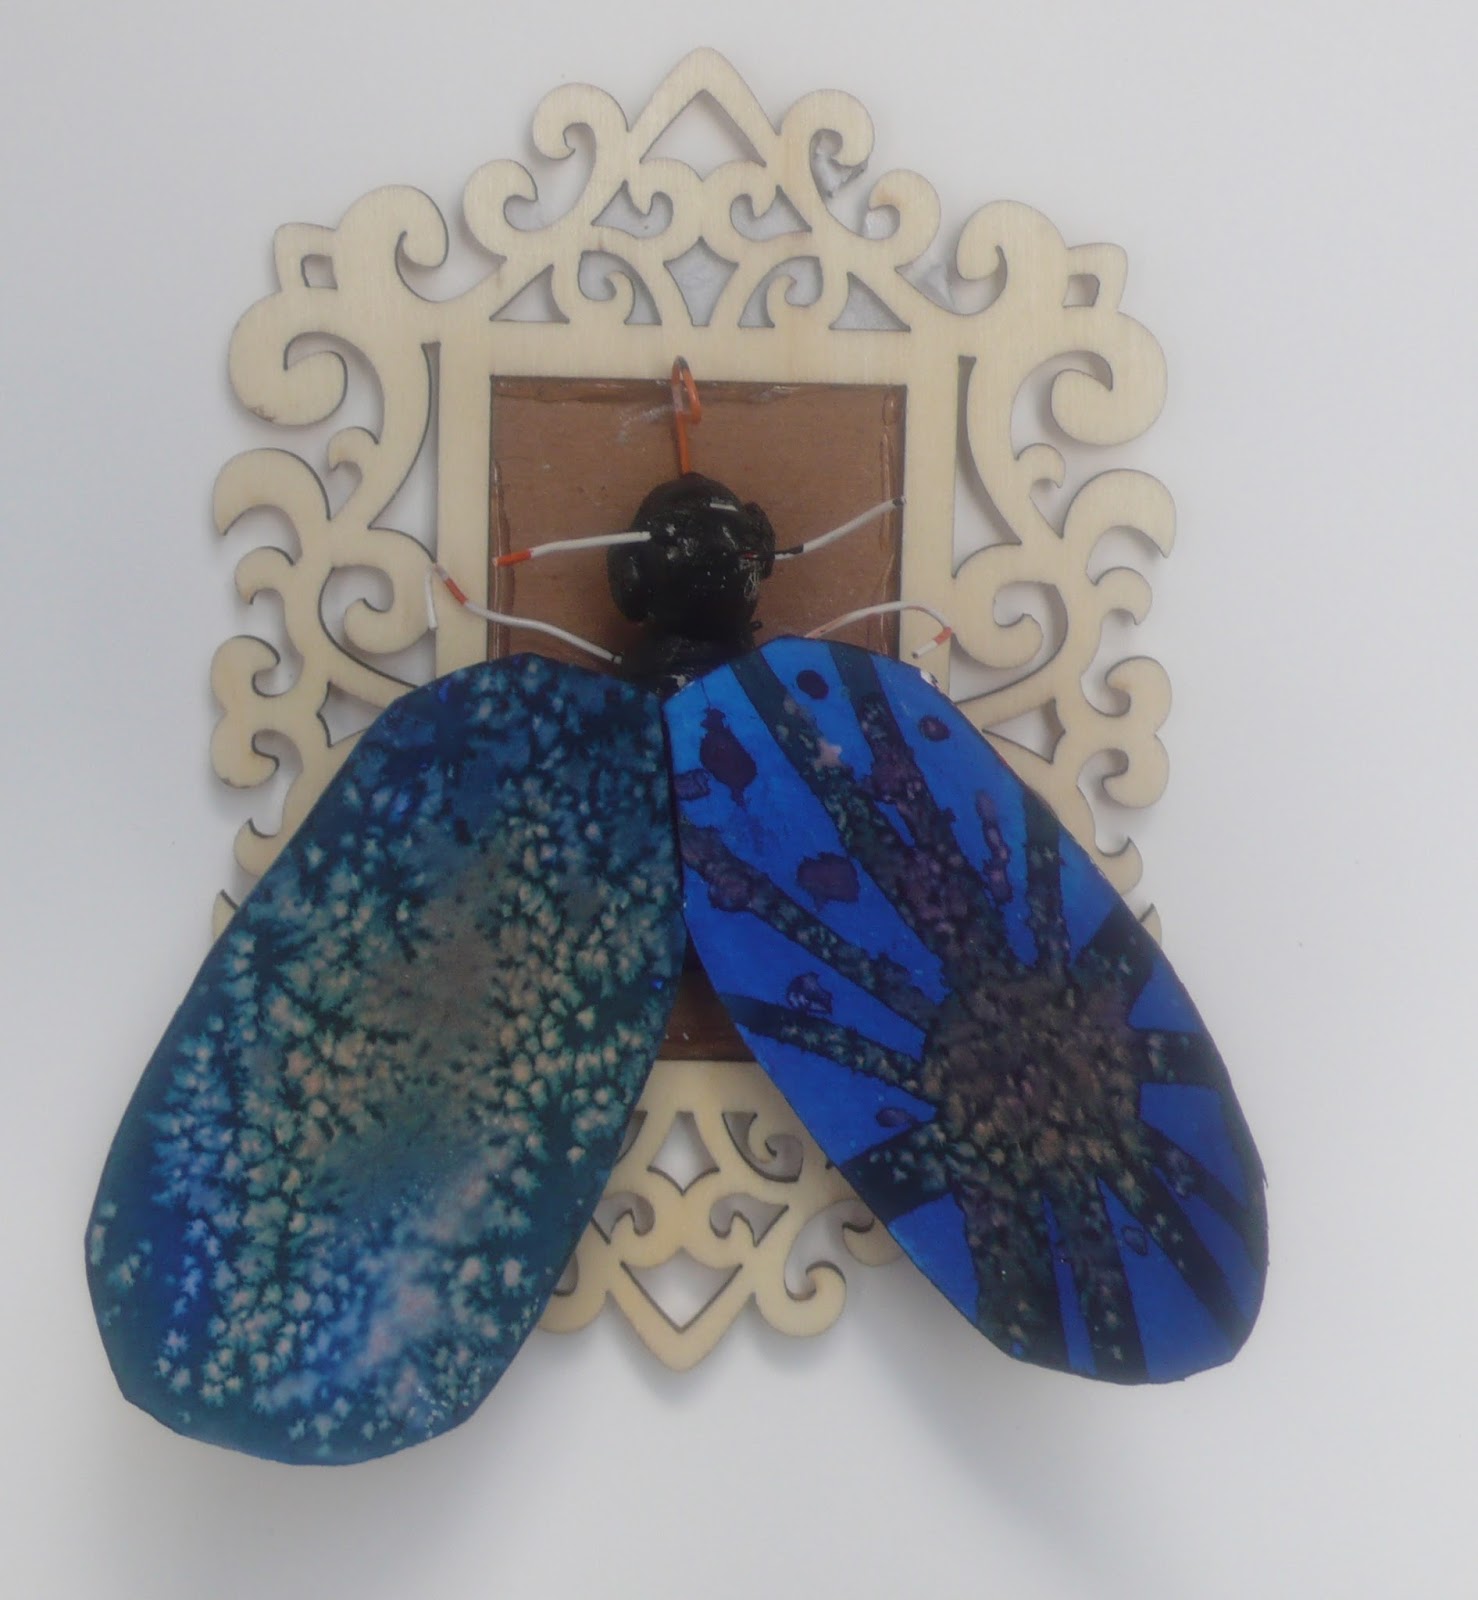
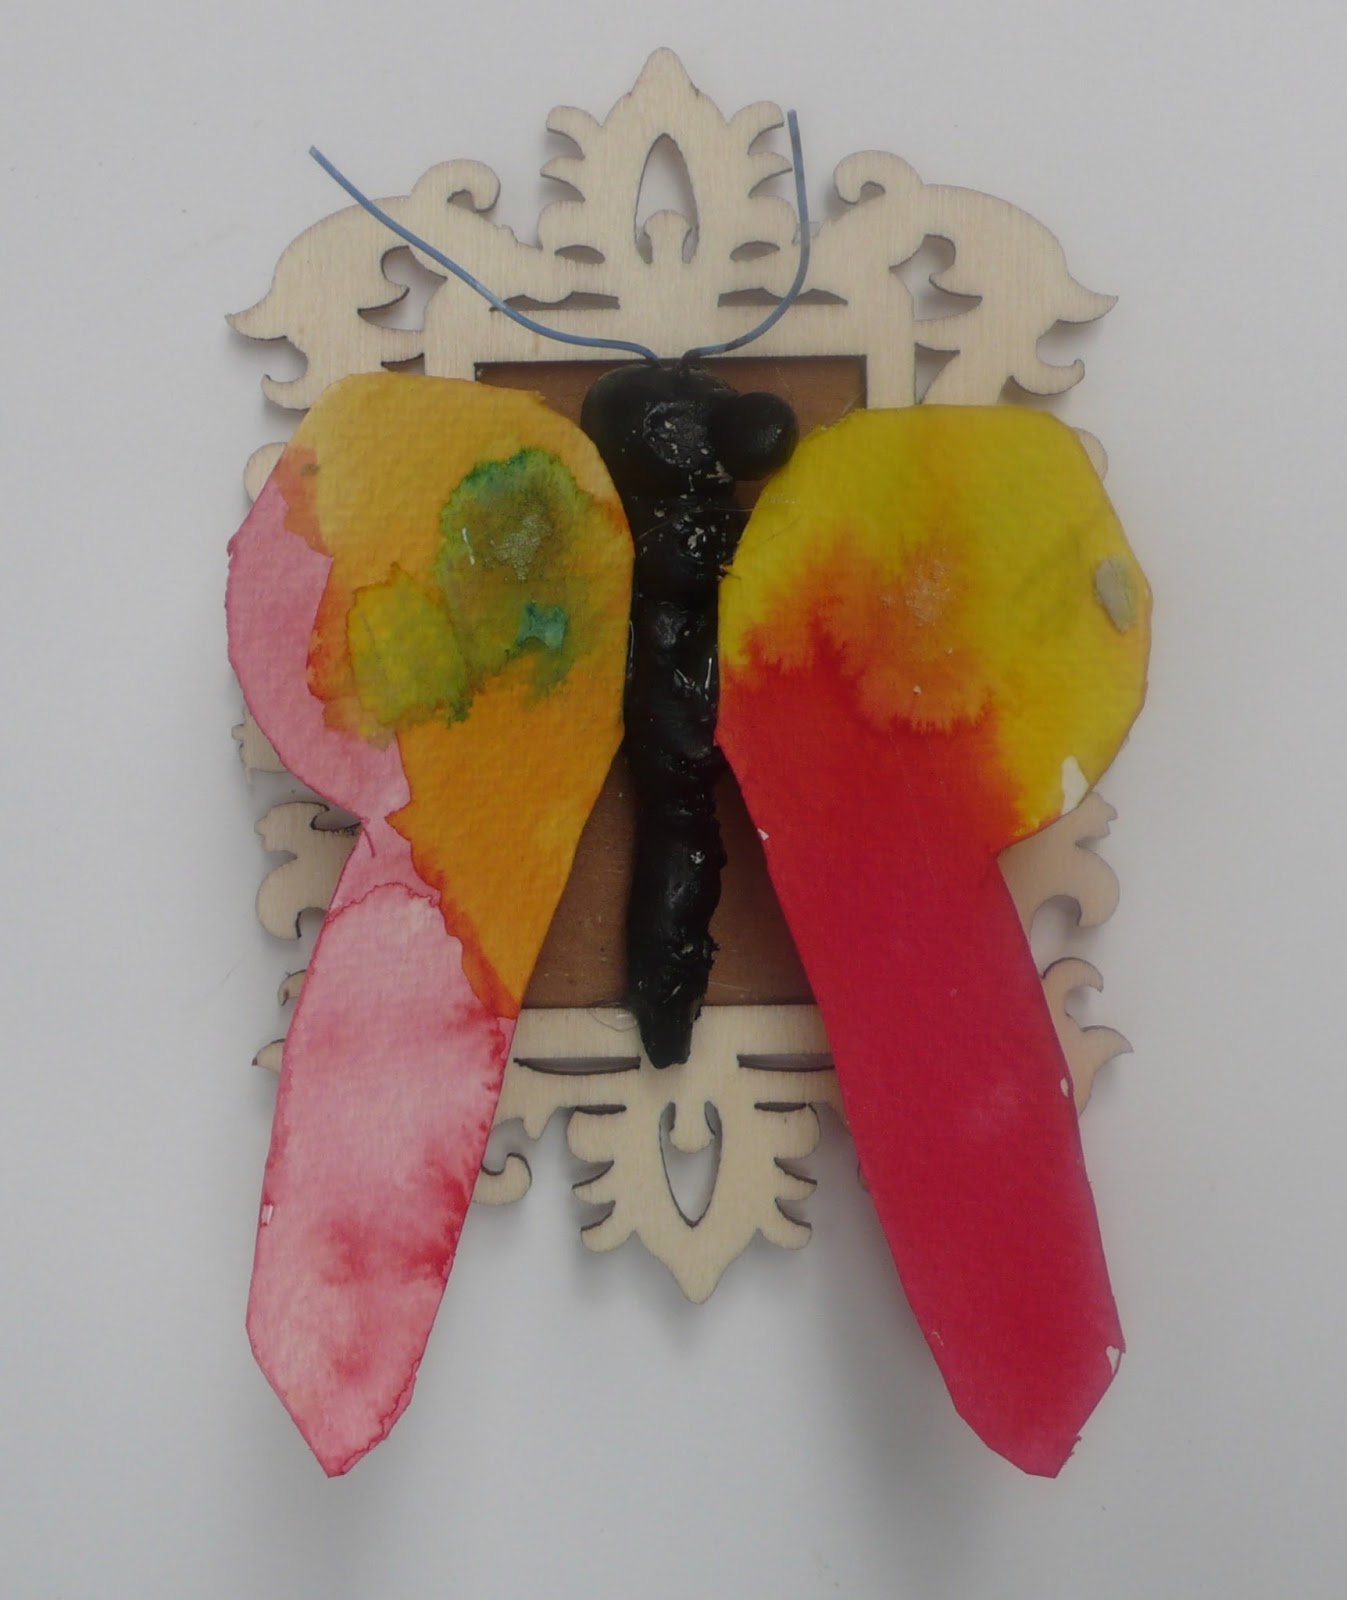
First using air dry clay, they created a body for their creature.

I told them to keep looking at their jar and making sure the butterfly would fit inside.

I said this over

and over

and over

and over.

Some added wire for legs, antennas, and even tongues!

Then I handed them a small piece of watercolor paper and a palette with the liquid watercolor in the primary colors only.

I quickly went over some of the techniques they could use with the watercolor and also a quick lesson on symmetry.

And then just so they didn't get to upset if their butterfly didn't come out symmetrical, I also talked about how artist Jack Shadbolt created asymmetrical butterflies.

Then off they went with me once again reminding them to remember the jars they wanted to fit their creation into and double checking that what they were creating would fit inside.

I said this over

and over

and over

and over.

Once the bodies were dry, they painted and I hot glued their wings onto the body.

The results are lovely

Even if very few are actually contained in the jars we worked so hard to collect for them because like my kids when I remind them over and over to clean their rooms, my chant of, "double check your butterfly fits into your jar" fell upon deaf ears.

9 year old
8 year old

9 year old

6 year old

6 year old

9 year old

9 year old

6 year old

7 year old

9 year old

7 year old