Wednesday, August 23, 2017

textile printmaking inspired by the Anokhi Museum in Jaipur, India

One of the cities we visited in India was Jaipur. My husband planned this part of the trip with a surprise just for me, a trip to the Anokhi Museum. He knew I would enjoy seeing and learning about this traditional textile art form.

I'm not sure he realized just how lucky I would be on this visit. We practically had the museum to ourselves and when we got upstairs, there were two artisans actually demonstrating their skills. This is an art form that is handed down by generation and a proud occupation of families.

First I was able to watch this artist actually create a handprinted fabric sample using the famous teak stamps.


He made printing fabric look very easy as he quickly applied the pattern in the base color, picked up another stamp and began the second color on top. 


After he would place the stamp down, he would pound it a couple of times with a flourish before lifting it up. Imagine my surprise when he gave me a chance to give it a try!!


I'm not sure I passed with flying colors, but this was without doubt one of the highlights of my trip to India. And I was so touched when he cut the fabric piece and gave it to me to take home. 

As we walked into the next room, another artisan was creating the teak stamps.


Let's just admire his agility to sit like this! I got leg cramps sitting on the floor "crisscross applesauce" with the kids yesterday!!


With a couple of tools and a hammer, he began creating these small flower stamps. He made it look so easy, I looked at my husband and told him I needed to do this with the kids in the studio and he quickly reminded me that teak is a hard wood. With the speed and ease he was creating these stamps, I completely forgot that part.


When he finished the stamp, which I think took less than five minutes, he graciously handed it to me.


I was so completely touched to walk out of this room with not only a piece of fabric I had watched created (and added my own touch too) but also a stamp I had seen made, I shed a tear or two the experience had been so special to me and I knew, KNEW, I needed to find a way to share it back home.

What better time than in the India Safari Jungle camp?

I used some craft foam and wood blocks and had the campers create two stamps, one for each color they would put on the fabric. We designed animals since it was an animal themed camp, but the young artist quickly moved away from animals I actually saw while in India and picked animals that were their favorites.

8 year old, giraffe

I'd be lying if I didn't say that I was a little concerned at the beginning of this project. I don't think the kids embraced it straight away as they were making their stamps. In hindsight I could of explained reversed printing better. 

10 year old, fox love

But when they started printing their fabrics, the project was redeemed and the young artist joy was equal to my own when I was in Jaipur at the Anokhi Museum. To say they loved it would be an understatement.

The kids used watered down acrylic paints for "ink" which worked perfectly. The water ensured the fabrics were not stiff and will hold up to any washing they might do with whatever it is they make from these cotton squares in the future. I also love that the artist can draw into the foam to create reliefs, the hearts above on the foxes bodies were created using this technique.

12 year old, polar bear

I think the favorite part was "thumping" the stamps once they put them on the fabric, much like the artisan I had watched in Jaipur. 

"sluggie" 6 year old

I kept assuring the children that printing off register was part of the charm of these works. Having the sample from Jaipur created by a true artisan of this technique came in handy to reassure them that even the finest artist was not always on register.

I love this six year old's slug print. She is a true fan of "sluggie" and I saw this image several times during the time I was working with her. Of course her fabric color choices were pink and purple, again, a palette I saw over and over in her work as it is her two favorite colors.

10 year old, wolf

No surprise that this student chose to do a wolf. It is her "go to" animal most of the time.

10 year old

This young artist wanted to create a geometric pattern instead of an animal. I think it is very interesting how it turned out when she started printing and next time I use this project idea I may just have the artist work with geometric designs.

6 year old, panda

And finally this young student, she was very frustrated when creating the stamps. Like I said, I could of done a better job explaining reverse imaging and the idea of putting parts together to create a whole. I lost sleep overnight while we were waiting for the glue to dry thinking about how unhappy this child had been during the beginning of this project. 


So I could of not been more thrilled to see the exact opposite reaction from her when it came time to begin printing. She was the last one to finish she enjoyed creating her fabric so much. Her grandmother is a beautiful textile artist and I hope together they create something wonderful with this sweet fabric she made.

Will I do this project again? Absolutely! Will I find a better way to explain the process prior to creating the stamps? Absolutely! And will I extend the project by having the artist actually create something with the fabric they create once finished? Absolutely! yes yes yes!

What was one of the highlights of my trip to India also became a highlight of the week in the India Jungle Safari camp too. I can't ask for more than that.


Tuesday, August 1, 2017

elephants from india watercolor and pastel

This past spring my husband and I did a month long safari vacation through India. It was one of the most exciting and memorable vacations we have ever done and I really wanted to share some of it with the children in the studio and so I created an India Jungle Safari summer art camp.

My thought was that I would use some of the hundreds of animal photos we captured to inspire campers artwork and one of the first projects did not disappoint.

We happened to be in Jaipur during a festival and all the domesticated elephants were elaborately painted. It was stunning and I had a couple of photos to share with the kids. I also referenced google images to show them others as their interest was peaked.

9 year old


We then got down to creating.

First, the campers sketched an elephant head onto watercolor paper. I kept stressing for them to draw it BIG so they would have lots of space to later decorate.
6 year old

10 year old


I then put out liquid watercolors in primary colors for them to create a background using a wet on wet technique. The paper was so large that by the time they finished, it was dry enough to begin working on the elephants.

12 year old


I did put out some black liquid watercolor but I find it is a bit blue, so warned them upfront. We also discussed that since there is no white in watercolor, to create a grey they would need to dilute the color with water.

8 year old


Once they were finished, we put the paintings away for the day to dry.

The next morning the campers were given chalk pastels and sketched out a design to decorate on their elephant heads. When they were happy with their design, they dipped the chalk pastel into water to create a "paste" and began drawing.

10 year old


They LOVED this part of the process and got lost in creating. In fact, they began to cover surfaces on the elephants outside of their original plans because they just did not want to stop.

10 year old


The final results are stunning.


Wednesday, July 26, 2017

How to create an open ended clay project

I try very hard to leave all projects I introduce in classes, camps and workshops open-ended, so each child has the opportunity to explore the process and come up with their own unique solutions.

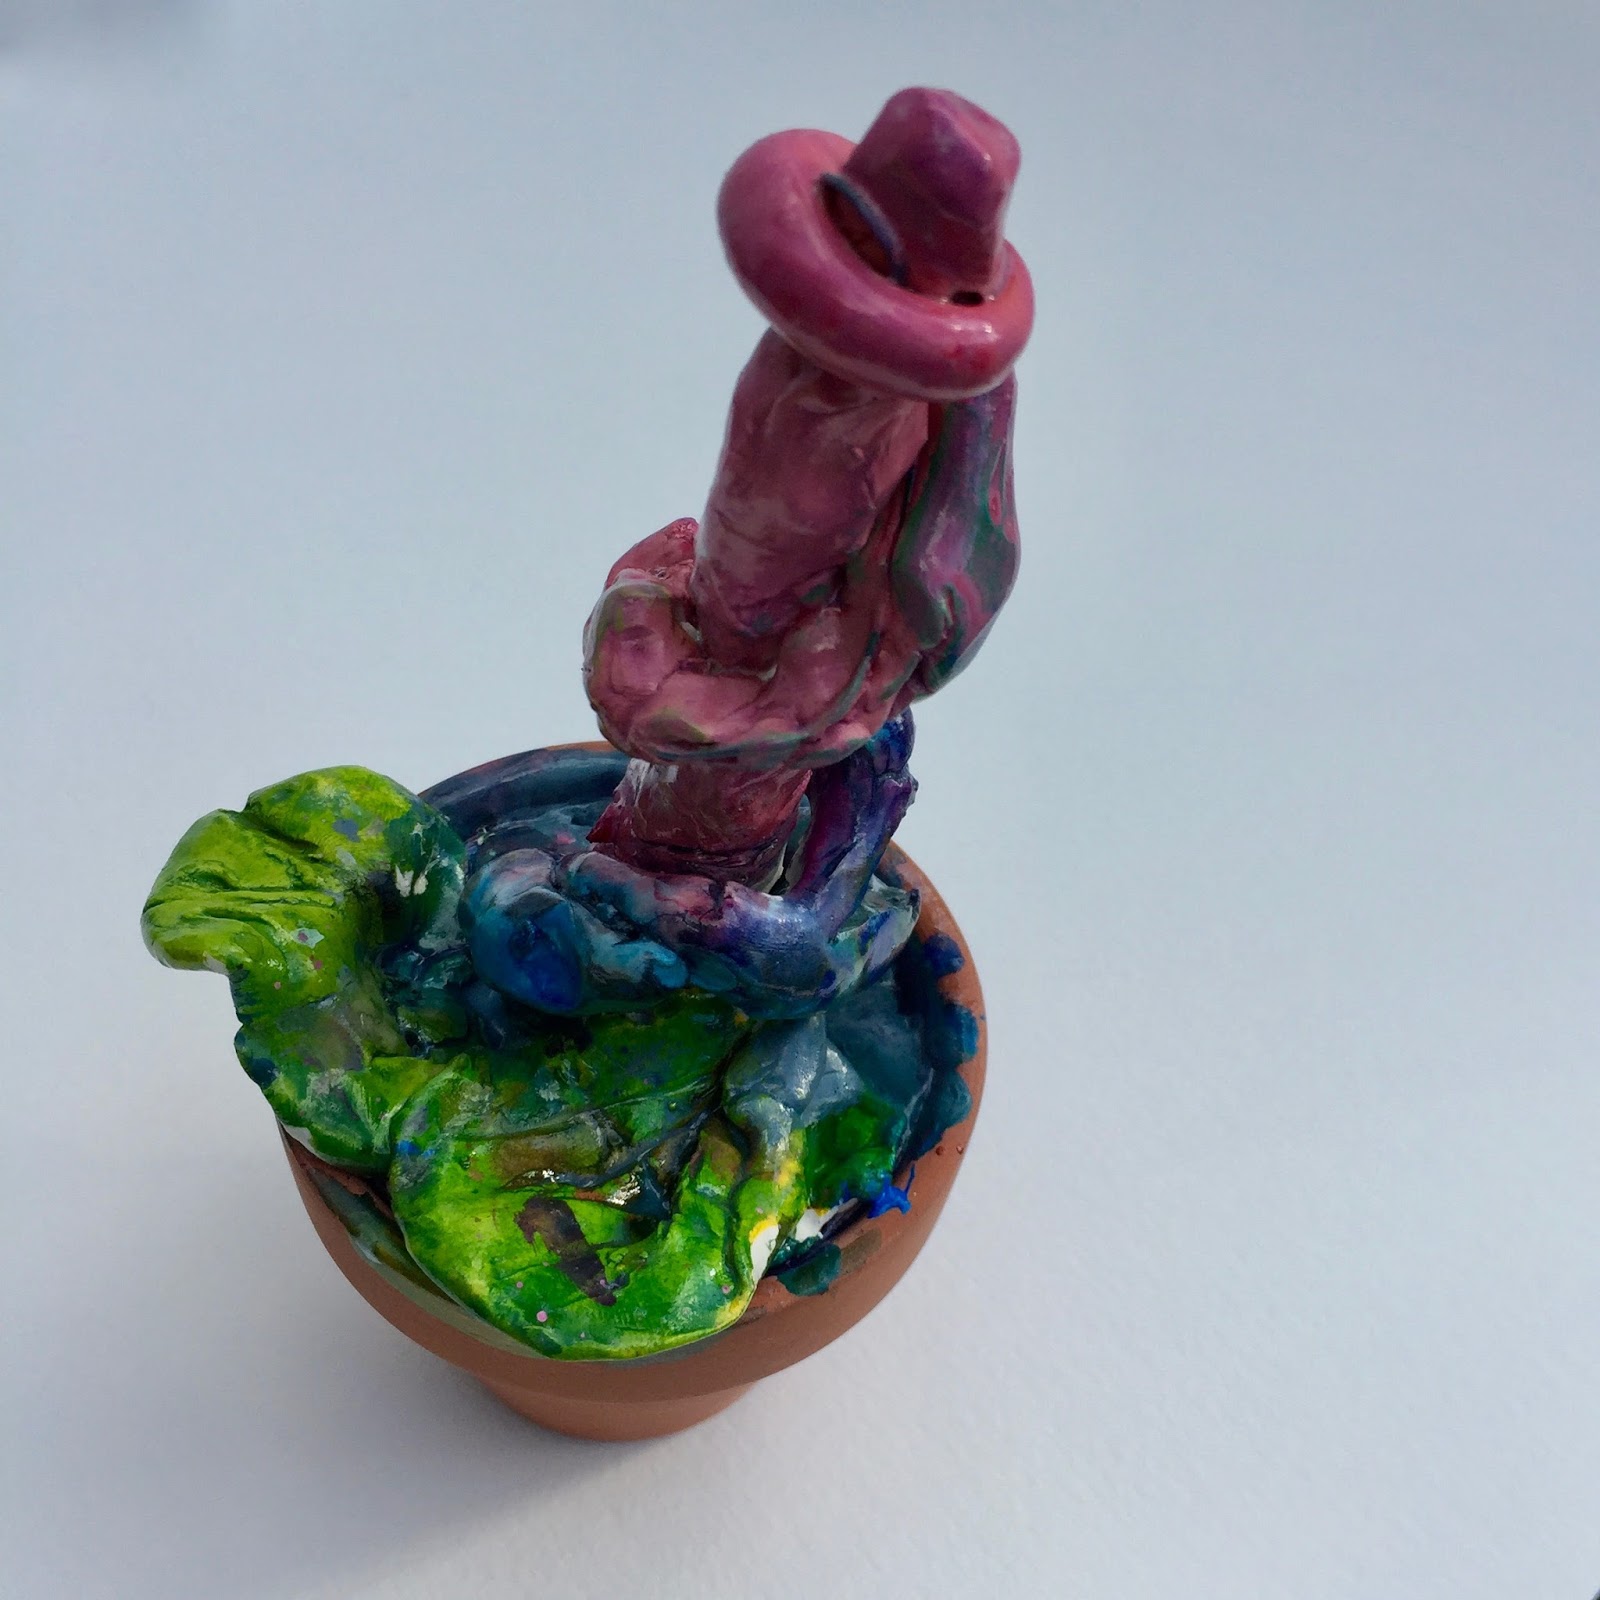
So you can imagine how thrilled I was to see how an invitation to create a pot of strawberries ended with a wide variety of imaginative pots in the "Art and Nature" summer camp beyond my wildest dreams.

Campers arrived in the morning to find my terra-cotta strawberry pot in the middle of the table for inspiration.

my terra-cotta pot of strawberries and lazy bulldog basking in the sunshine


We discussed all their observations including that leaves were dark on the top and light on the underside, the different stages of growth of the fruit from flower to a succulent strawberry ripe for the picking and the way the vines shot out from the main plant.

I then gave each camper a small terra-cotta pot of their own and put out some oven baked white clay, florist wire, and scraps of watercolor paper and watercolors. I told each of them to use the materials however they wanted to create their own potted strawberry.

I envisioned vines made of wire with watercolor strawberry tops crowning strawberries made of clay when I was deciding what things to put out to entice the kids imaginations.

Silly me to think the kids' imaginations would be limited to my simple original idea.

Yes there were traditional pots of strawberries.


Before some of the kids began to venture off into purple dirt and flatten strawberries painted in wild colors.


Not one child utilized the watercolor paper and watercolors, not one. But the wire was a different story.


There was this rainbow creation where the wire bridges between the two stems.


And this amazing plant where the young artist first created a wire maze and then covered it in clay. He topped it off with creating plump purple fruits just begging to be picked and eaten. Any thoughts on what these juicy purple beauties would taste like if you could really eat them?


And then there was this abstracted strawberry plant that seems to be from another world. Is it not amazing?!


A couple of the younger artist played with the idea of a tall stem that either ended with some flowering leaves or a vine wrapped around it. Again lots of wild beast choices when it came to painted colors.


And finally this christmas tree strawberry plant. How simple and sweet is this?

I have always allowed the children in my studio to take the projects I present and make them their own, be it subject matter or how they decide to solve the challenge I have put before them but my best guess as to why this particular project took on such a life of it's own was the addition of the wire with absolutely no instructions whatsoever from me as to how to use it or any of the other materials.

This project is proof that when children are trusted to create something from materials with the end goal of pleasing no one but themselves, magic happens.

My wish to you is to give it a try and watch what magical things you will witness form right before you very eyes.