Thursday, April 30, 2015

A flower for his mama

One of my six year old students came to the studio and announced he needed to paint a flower for his mother.

I suggested we do the flower in chalk pastel, but he was firm in his opinion that it needed to be paint.

So I pulled down a large art book on Georgia O'Keeffe's 100 flowers and we looked at quite a bit of her work for inspiration.

He decided on painting a pink rose that he felt looked like a tulip.

I used the project to work on his brush strokes and learning to pay attention to the darks and lights of his reference.

He worked so hard and was so proud of his creation that when it came time to photograph the work, he was quite convinced that he needed to be in the picture too.

I explained to him that for safety reasons I never put any of my student's faces on the internet. He mulled that over for a moment and then came up with this solution.

acrylic on canvas, 6 year old

As far as he was concerned, problem solved.

I'm pretty sure no one will be able to identify him by his fingers either and so I agreed to the compromise.

Here is the picture of a very proud little six year old boy holding a painting of a flower for his mama.

What a lovely early Mother's Day present.

Monday, April 27, 2015

Bits and pieces

I've been a member of the North Shore Needle Arts Guild for several years now, in fact, I just finished a two year term as their President. And I'm passionate about sharing the art of needle and thread with children.

To me, this is truly a lost art form.

Some call it craft, but when you are creating an original piece of work in whatever medium you choose, it is art.

And so I continue to share this art form with kids and what I find regardless of age or gender, they enjoy it.

And so it has become known by the guild members that I am a great person to give away stash too. I have been gifted beautiful embroidery, thread, fabric, hoops, and stretcher bars. Buttons, felt, and just about anything else you can imagine over the past couple of years.

And I put it to good use.

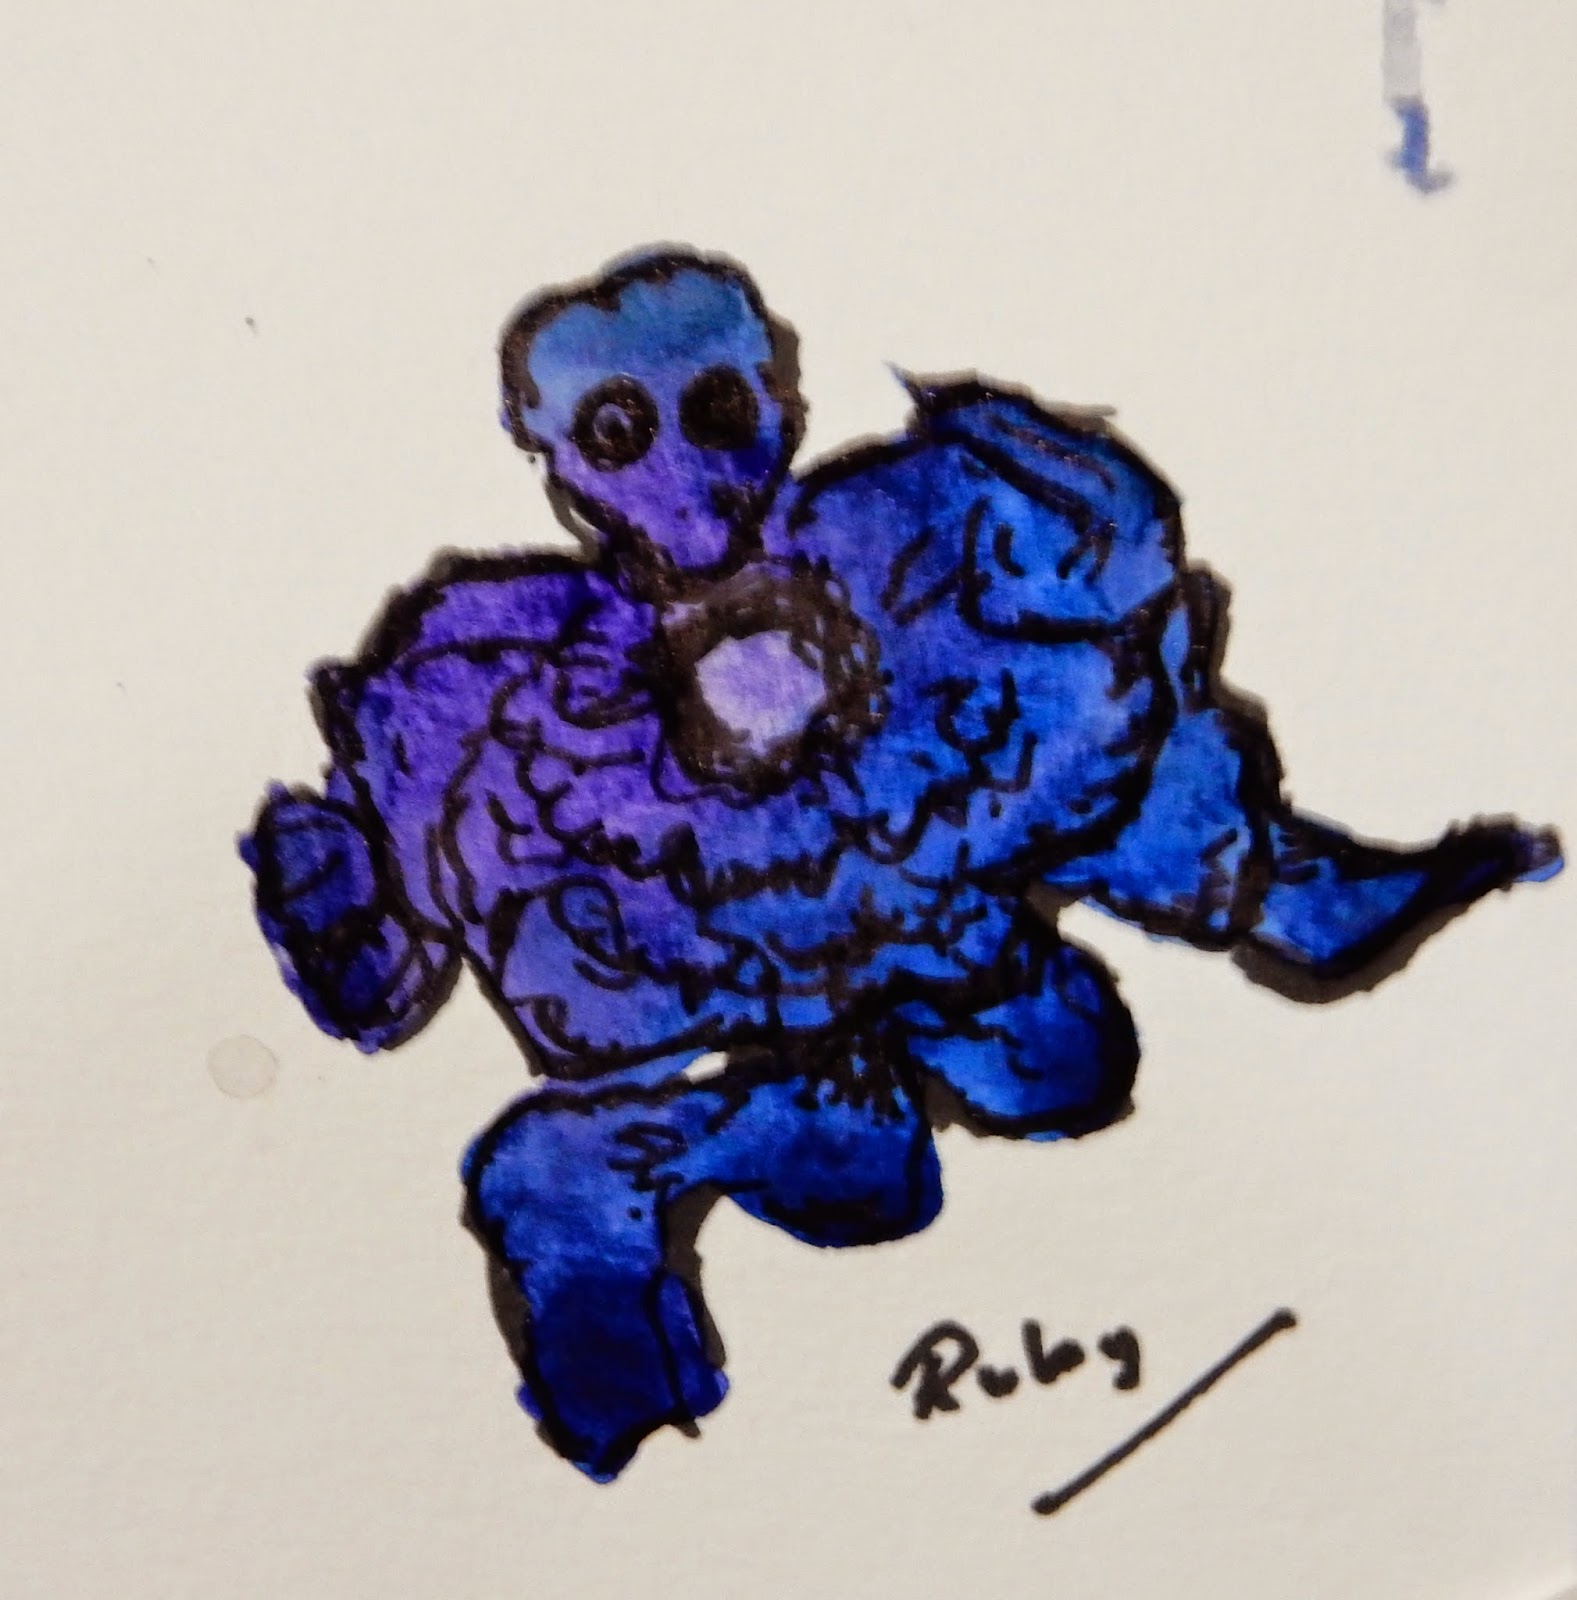
This past week, I decided to introduce a mixed media textile project to a group of students ranging in age from 9-13 years old.

I placed a salvaged piece of fabric on hoops for them before class started.

And then I just started bringing out bits and pieces of things for them to choose from.

They started with water downed acrylic paints.

Then I showed them a back stitch, a running stitch, and a split stitch and told them to create a head and neck in whatever thread color they desired.

13 year old, mixed media textile

I put out buttons, some crochet work I had collected, scraps of material, and felt and told them to use it to create the face.

Some used buttons for eyes or sunglasses, while others decided to use coptic pen to sketch in the eyes.

Some used felt for hair while others learned how to create curly hair by using a running stitch and then weaving the thread back through or used a stab stitch to create straight hair. Others went to a graphite pencil when it came time to create hair.

Buttons became hats with frou frou embellishments created with delicate bits of crochet.

11 year old, mixed media textile (love the sunglasses)

Felt was rolled up into roses and material was appliquéd on for dresses and collars.

Buttons even became polka dots!

10 year old, mixed media textile

I then put out some linen scraps and gave them each an opportunity to stamp out a name or anything else they wanted. And again, using a running stitch they added that into the work.

I love the art created. I loved watching their imaginations run wild as they delved into the variety of things to create. And along the way, they learned way more than they realized.

They can sew a button.

Stitch a patch.

Create and paint with thread.

9 year old, mixed media textile. (how awesome is the spelling of Wacko)


It is amazing what wonderful creations sit waiting to be created in nothing more than a stash of bit and pieces of this and that.

More exciting is that as fate would have it, the Embroiderer's Guild of America (EGA), just announced an opportunity for children 16 and under to exhibit original artwork created with needle and thread at their headquarters in Lexington, Kentucky this fall.  Deadline for entries in in June and so each of these students is very excited to become part of this exhibit.


Wednesday, April 22, 2015

Lady Liberty

I love when sometimes a project ends up in a place where you least expect.

When my six year old student showed up at the studio, he told me he wanted to do another Kandinsky inspired painting like the one he had done the week before.


(I think he really just like saying the word "Kandinsky")

It wasn't exactly what I had thought we would do that day but I figured if he really liked that style of painting, it wouldn't hurt for him to explore it for another lesson.  I did suggest we do something other than a landscape.

We talked about animals and my lack of wolverine reference. 

Have I mentioned that I have at least a hundred folders of animal reference and this child has the uncanny ability to always pick an animal I do not have on file?!

So once we had established that I was sorely lacking in the "interesting animal" reference material, he announced that he wanted to paint, "Lady Liberty".

I was shocked.

This is a six year old Canadian boy asking his born and bred American teacher to paint Lady Liberty.

Be still my beating heart.

He had no idea I was from the United States and that he had just scored the mother load of brownie points by suggesting to paint one of the country's most important icons.

OF COURSE I was "all in".

Again, I didn't have reference in my files for the Statue of Liberty because as I mentioned this child is truly gifted when it comes to picking subject matter M.I.A in my file cabinets, but luckily I did have my iPad (thank you Steve Jobs).

Once he settled on a reference he liked, he began to sketch. He is only six years old and the Statue of Liberty is not the easiest thing to draw. But as we worked together to simplify her down to shapes, I heard how he had looked out the windows in her head while on vacation. If you notice, he has made sure to include those windows in his painting.

We talked about how leaving out the ground made her look "big" and "important" and I think he was surprised at how long it took to paint all that blue in the background.

In the end he created a darling work that is without doubt, the apple of my eye.

acrylic and oil pastel, "Lady Liberty", six year old

In a million years, I would of never thought of suggesting to paint the Statue of Liberty. I love when a project forms through collaboration with the student.

Once again great things happen when a child is given freedom, beautiful freedom, that great thing Lady Liberty herself represents each and every day for millions of people.

Monday, April 20, 2015

When art and science collide

Sunday morning a sweet little bird flew into one of our windows.

Unfortunately I was not able to revive it but it was such a lovely little bird my first thought was, "Oh, I should use it for drawing in the art classes!"

Isn't that everyone's first thought?

And my husband is obviously very use to my unusual ideas because he didn't even blink an eye when I told him not to bury the bird and put it into a ziplock bag and placed in the the freezer.

The studio freezer, not our freezer. I think my husband might of protested, along with my children, had I placed it in with our food.

I could hardly wait for next week classes to start.

And then I started having this nagging feeling that maybe all the parents would not be as excited as I was about sharing a dead bird for drawing class.

So I sent out an email and was pleasantly surprised that all of them were indeed quite supportive of the idea that their child would have the opportunity to really study a real bird for drawing.

Just like the greats before them!

So when the kids arrived for class, I introduced them to the work of John James Audobon. I told them how he use to sketch the birds in their environment and then shoot them as carefully as he could to bring back to his studio to really study and paint.

This made them sad but after I explain the importance of his work as far as documentation of the avian landscape when the United States was still in it's infancy, they were a little more understanding.

At that point, I told them about the bird I had in the freezer. I figured I would let them lead the way with whether or not I brought the bird out and that no one needed to be embarrassed if it was something that would make them too sad.

EVERYONE wanted to see the bird. My group of 9 and 10 year olds were quite excited, which to tell the truth was the one group I was certain would have the most difficulty and probably decide to do the other project I had on hand.

Not the case.

They did however decide not to pursue drawing the bird after they studied it. And so we worked on a mixed media textile project instead. (wait until you see it!  they are fantastic!)

The teen class however were quite open to studying and drawing the bird.

They had their choice of whatever drawing materials they wanted.

One chose charcoal and the other a mechanical pen.

It wasn't until the end of class that I realized both of them had added a bit of dark humor to their work. Theres a bit of red in both drawings to represent the death of the bird.  And then there are the titles.

I wasn't privy of those until the parents arrived for pick up.

I think they both learned a lot by being able to really look closely at a real bird. And they both took some liberties with their drawings, just like Audobon. 

I'm truly glad we could honor this sweet birds life by immortalizing it's time on earth in art.

It did not die in vain.

our specimen

14 year old, charcoal. "Dead bird on branch"


13 year old, pen with watercolor. "Dead bird on barbed wire"


Thursday, April 16, 2015

A whole new age group of students!

I am a member of the local P.E.O chapter. I'm quite proud to be a part of such an exciting organization and when they asked me to do a program at the last meeting, I was quite humbled.

The program criteria was that it had to be 20-25 minutes long and whatever I did needed to be simple enough that I could travel supplies easily without much mess.

And since I find that adults sometimes come with a whole lifetime of "issues" regarding drawing and can get quite intimidated worrying about the end product, I decided to do a project where there was no right way for the end product to look.

I decided to present Carla Sonheim's book, "Imaginary Animals".  This is where I found the always successful project of Blobimals.  A project I have yet had anyone not enjoy doing, even the teenager who at the end of tonight's class stated, "I don't like doing blobs" and then moments later was giggling while looking at one.

If you are not familiar with artist Carla Sonheim, I encourage you to look at her website.

carlasonheim.com

There are a lot of very good free tutorials on the site and her work is quite charming. She is quickly becoming one of my favorite "go to" artist for inspiration.

Anyway, I created a stack of watercolor blobs prior to the meeting since there would not be a lot of time nor space for the women to create their own blobs. I handed each woman a sharpie pen and told them to find the imaginary creature hidden in their blobs.

I'm guessing by the amount of laughing and the eagerness to create more than one blobimal, they had a good time.

I'm quite impressed with the results and the vivid imaginations of the women who were at the meeting.

Everyone quite enjoyed looking at all the creations while breaking for refreshments.


A Class All About Cats

The newly turned 11 year old student who created the Irish Setter and her beagle, George, in chalk pastel has now a long list of commissions from family and friends for pet portraits.

And so asked if she could work on the white cat below for a family member.

chalk pastel, 11 year old

And since the other two students in this class had not tried their hand at this project before, I asked if they would like to do it too. Since it involved cats, the answer was a resounding, "YES!"

(although the subject matter could of been anything they wanted to choose.....)


9 year old

The student below decided to take me at my word when I said that you could leave the drawing incomplete and as long as the eye was complete, the project would look finished.

I really love the half cat.

10 year old

When we started, I told them that wherever they were at the end of class would be considered a finished piece.  I did this not to rush them, but to show them that with the eyes finished it wouldn't really matter if the entire cat was on the paper.

What happened is that there was this sense of urgency from all three to be "finished".  Lesson #134, do not EVER give a deadline unless you want to hear "FINISH" a bazillion times during an hour and a half.

So after coaxing them several times to continue working their "finished" piece, with 15 minutes to spare they were all truly finished. If I had made one more suggestion that they were not, I would of had a full blown mutiny on my hands.

And so I brought out my tried and true "fill up the rest of class" project and told them to try drawing the same cats using blind contour drawing with continuous line.

I then put out some watercolor pans for them to fill each line with a different color.

They LOVED the results once they added the color.

We also focused on how to add our signature as part of the design. You'll notice a big difference in how the artist signed their work in relation to the chalk pastels above.


awaiting color....


I'm such a sucker for the quirky nature of the blind contour drawings. I'd love to have students created a full blown landscape drawing using this technique one day.

By the time their mothers showed up for pick up, the girls had completed a full day of fun focusing solely on cats.

If I'm not careful, I'm going to be known as the crazy cat lady art teacher instead of just the crazy art teacher. Even though I am owned by three hooligan dogs and not even one live cat!

Tuesday, April 14, 2015

Engraved drawings

So I was looking for some projects that highlighted line work and ran across this one on the Dick Blick site.

After doing the project a couple of times on my own to make sure it didn't have any kinks, I decided to introduce it to the group of girls who come to the studio on Tuesday.

Well, there were kinks.

And we got off to a confusing start.

Thankfully they are an easy going group of girls who stuck with me and in the end, everyone got the hang of it and we got ourselves "out of the woods" so to speak.

Doesn't mean I didn't need a grown up drink once class ended, but phew, it was touch and go for a bit! There was a steep learning curve to say the least.

Would I do this project again?  Absolutely.

Would the girls want to embark on this project again?  Debatable.

But everyone learned a lot and I think the project would go quite differently the second time around.

In the end each student was a different level of pleased with their work, but I know they all learned a lot about line and the important role it can play in their artwork.

Personally, I love the final project results....even with the rocky start.

13 year old

First, the girls created a sketch on a piece of palette paper. (on the matte side)

Then I taped down a piece of Bristol and on top of that paper, taped down the top and bottom of the palette paper WAX side up.

This is where we ran into the first bit of trouble as I forgot to mention the drawing would reverse.

10 year old

Then using a dull pencil (the project instructions suggested a ballpoint pen), they started with the line work.

They put down the first line, then lifting only the bottom of the palette paper up, rubbed over the Bristol with the lightest of their colored art sticks. 

What remains then is all the line work in white.

Problem number two as the girls did not really see the first of their line work coming up so they didn't think it was working. In hindsight, I need to show them this step by example first with a dark color rubbing and explain the first couple of layers will not show well with the light colors and to trust in the end it will look like my example.

They then put the palette paper back down over the Bristol and created more line work, lifted the palette paper back up, then taking the next lightest color of art stick and rubbed over the paper again.

All their new line work will be the FIRST color they put down.

Even trying to explain this in the post is confusing!  You can see why we got off to a rocky start.


11 year old

The students continued these two steps until they felt the work was complete.  I will say I had to encourage them in the end with a very dark color as they were afraid it would cover up all their hard work to date, but they were thrilled when they realized the darkest colors actually brought out all the amazing lighter colors and line work.

8 year old

I'm guessing you could do this project by rubbing a colored pencil over the engraving rather than the art sticks.  I had one box that was shared between four students and it worked just fine.  Do not use chalk pastel as it will rub into the line work and create a hot mess.

I did not try it with an oil pastel but am guessing it too would be too would go into the line work.

It could be quite interesting to try it using only graphite with older students, building up the rubbing from light to dark. 

And with that, looks like I just found my next project to try with the teen class!

Hopefully this time, I really do have all the kinks worked out.